


Benchy's Gone Wild
Licensing is hard...

I’ve been thinking about picking up some new 3d printers for awhile now as my FlashForge Creator Pros are starting to show their age and one just doesn’t print at all anymore.
Getting new printers (other than having a up-to-date platform) serves a few purposes for me.
For one, Patrick is getting to the age (10) where he’s spending a lot of time on his smartphone and in games. I hope to use 3d Printing to teach him new skills, empower his creativity, make family memories, and teach him a world of science and design.
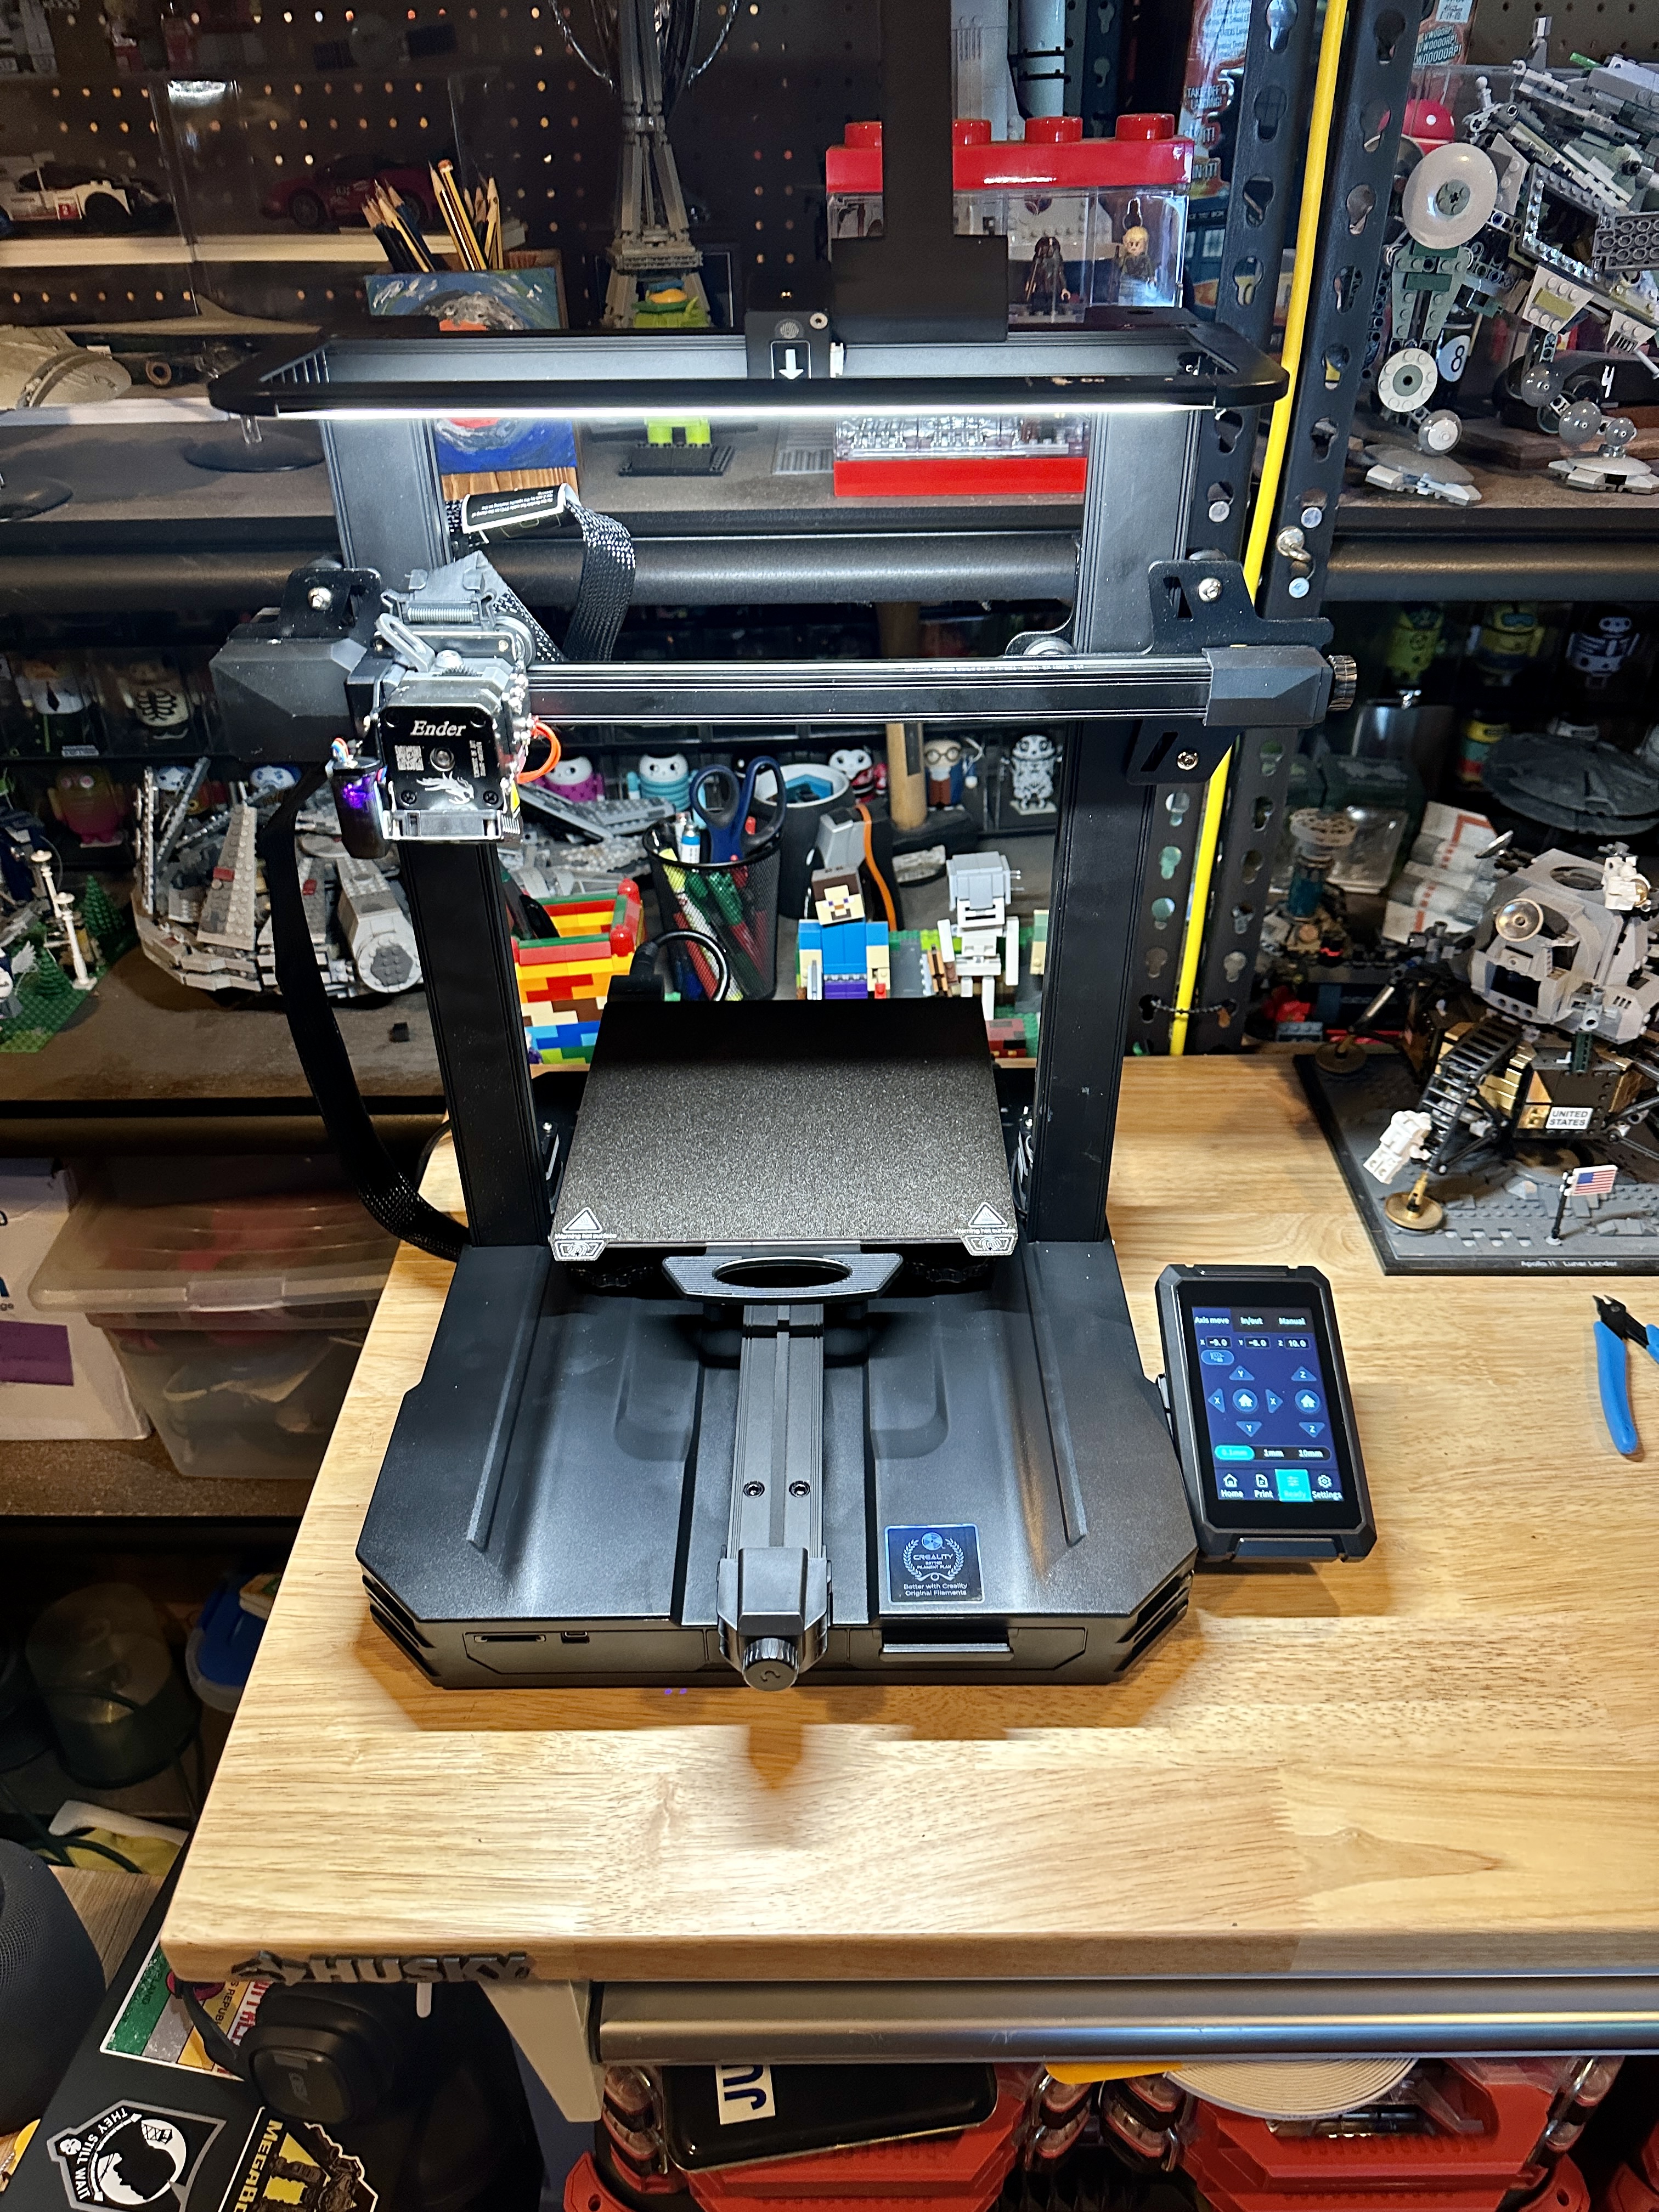
So I did a little bit of research and decided to go with a Creality Ender 3 S1 Pro.
Overall, it’s been a great printer with regards to ease of unboxing/installation as well as the overall quality of the prints w/o any tuning whatsoever. It was truly the easiest printer I’ve ever assembled. IIRC it was literally 11 bolts. Dead Simple.
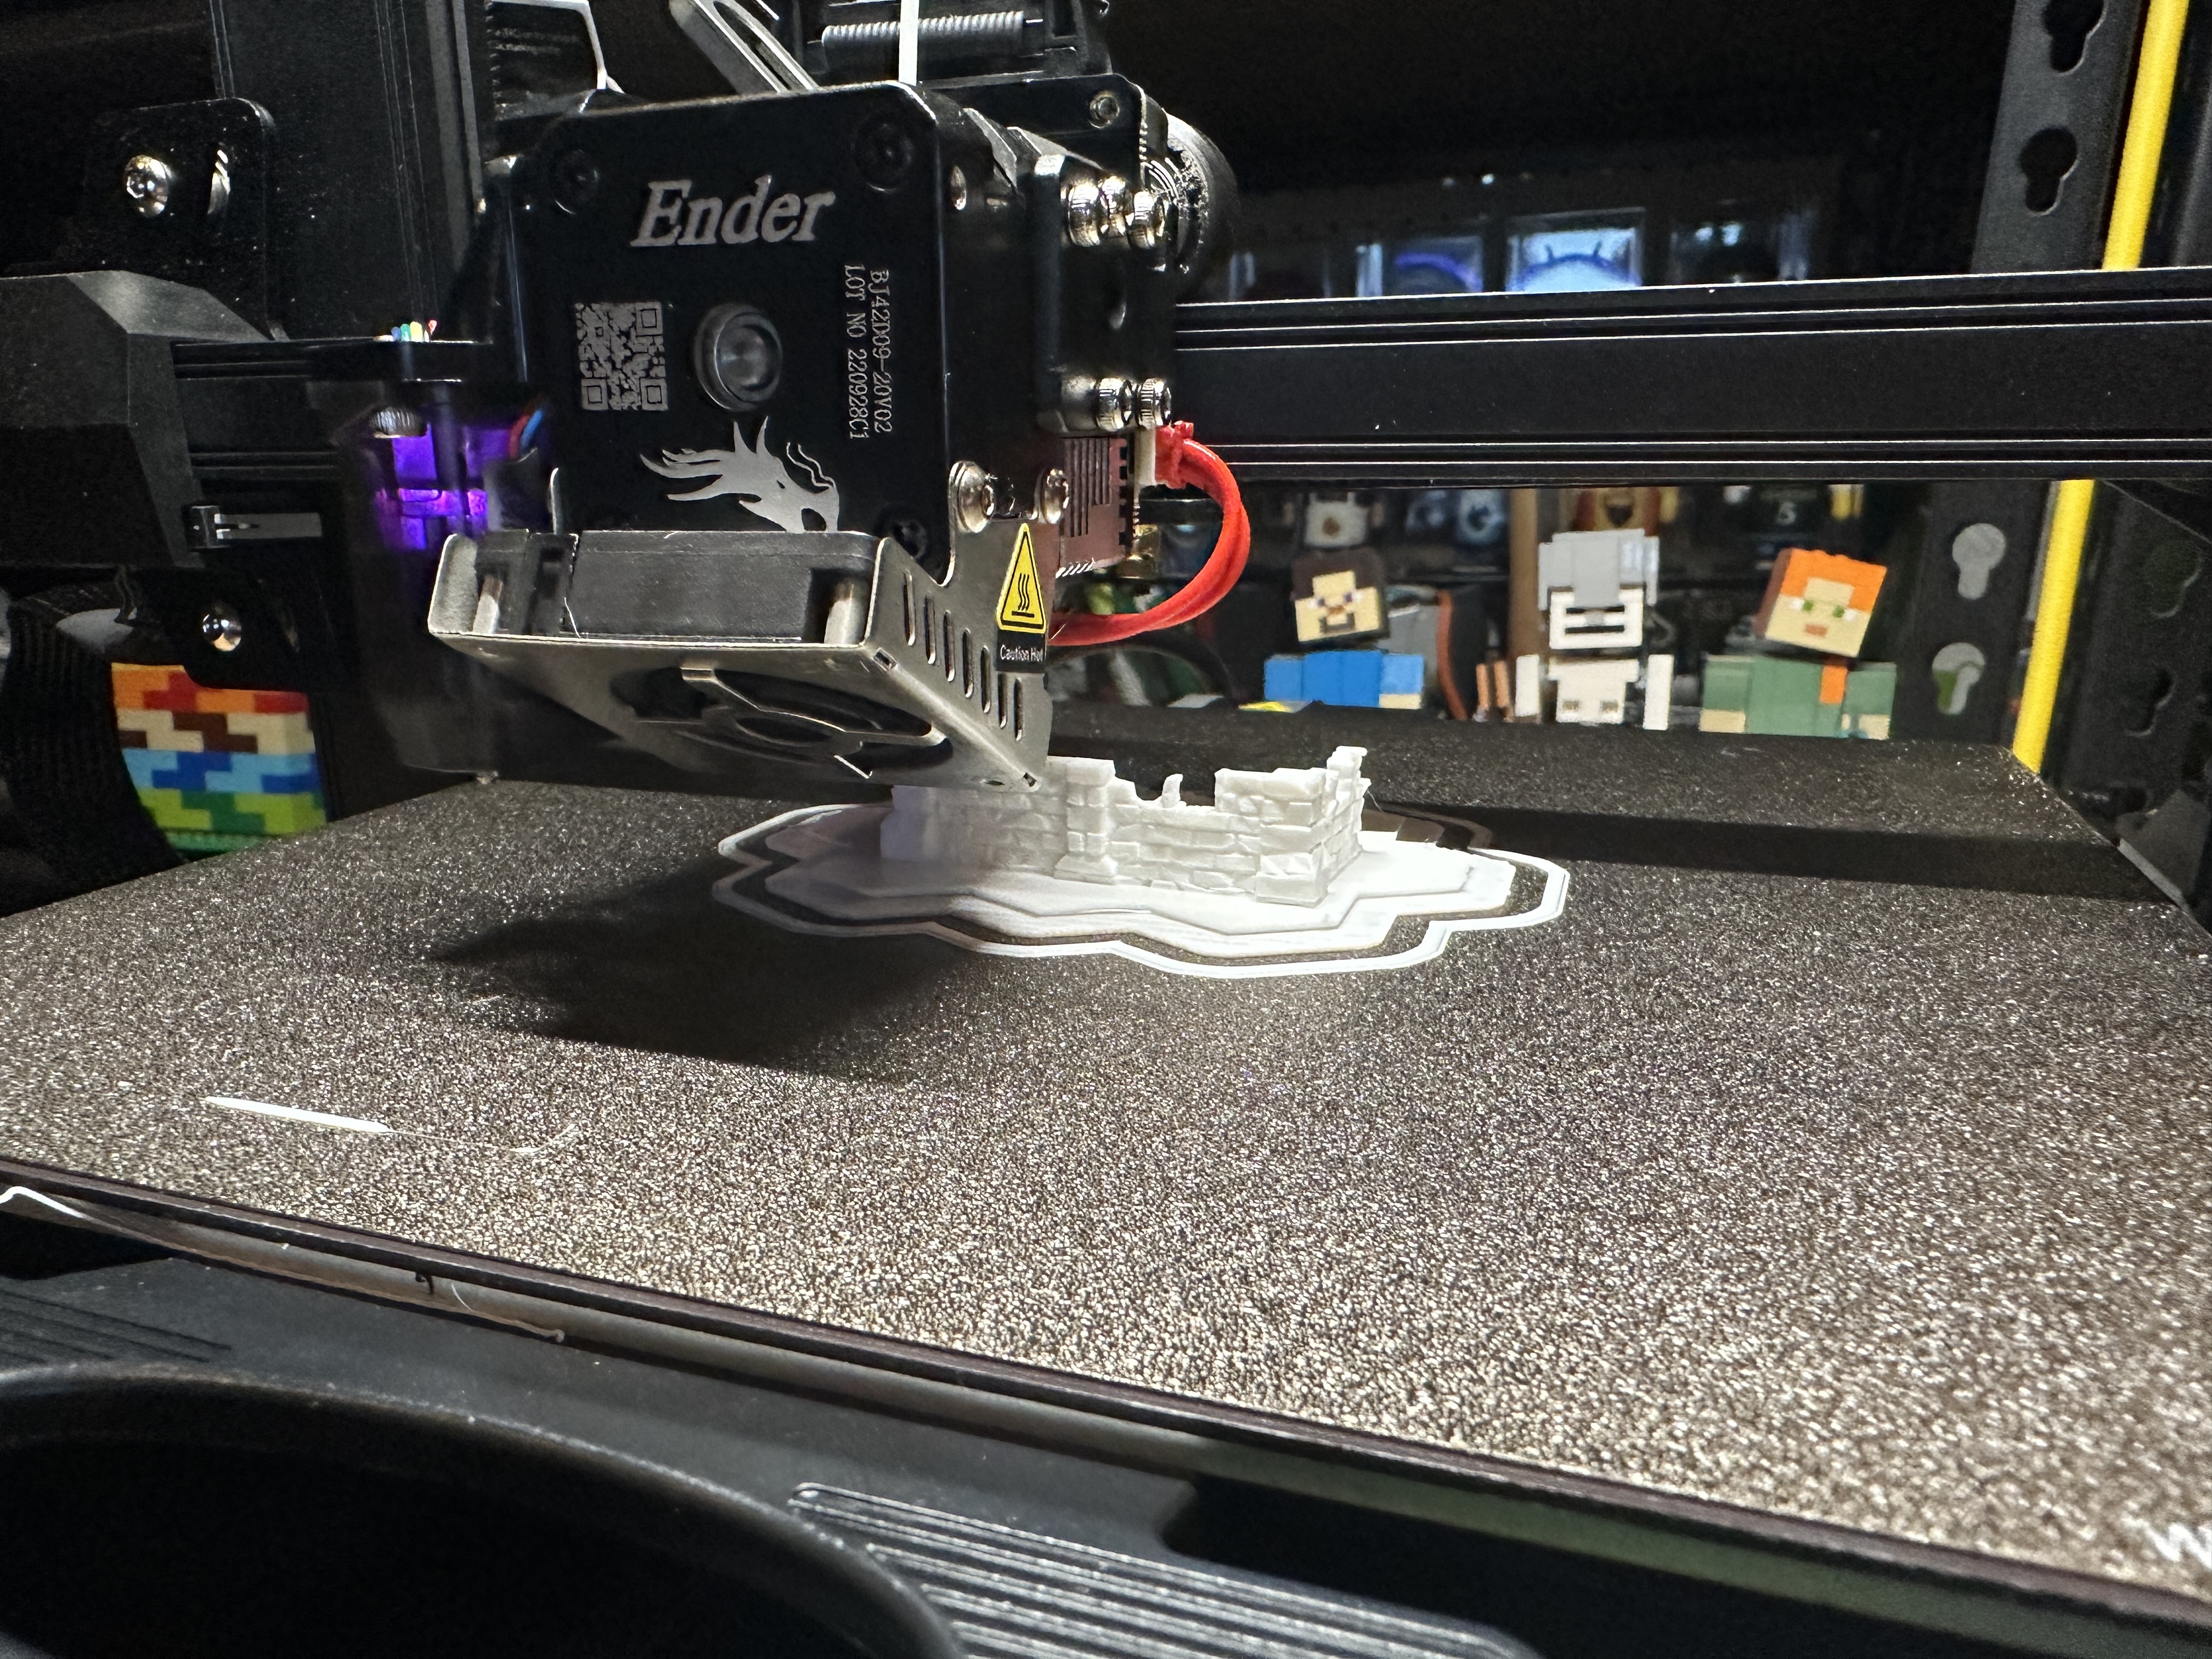
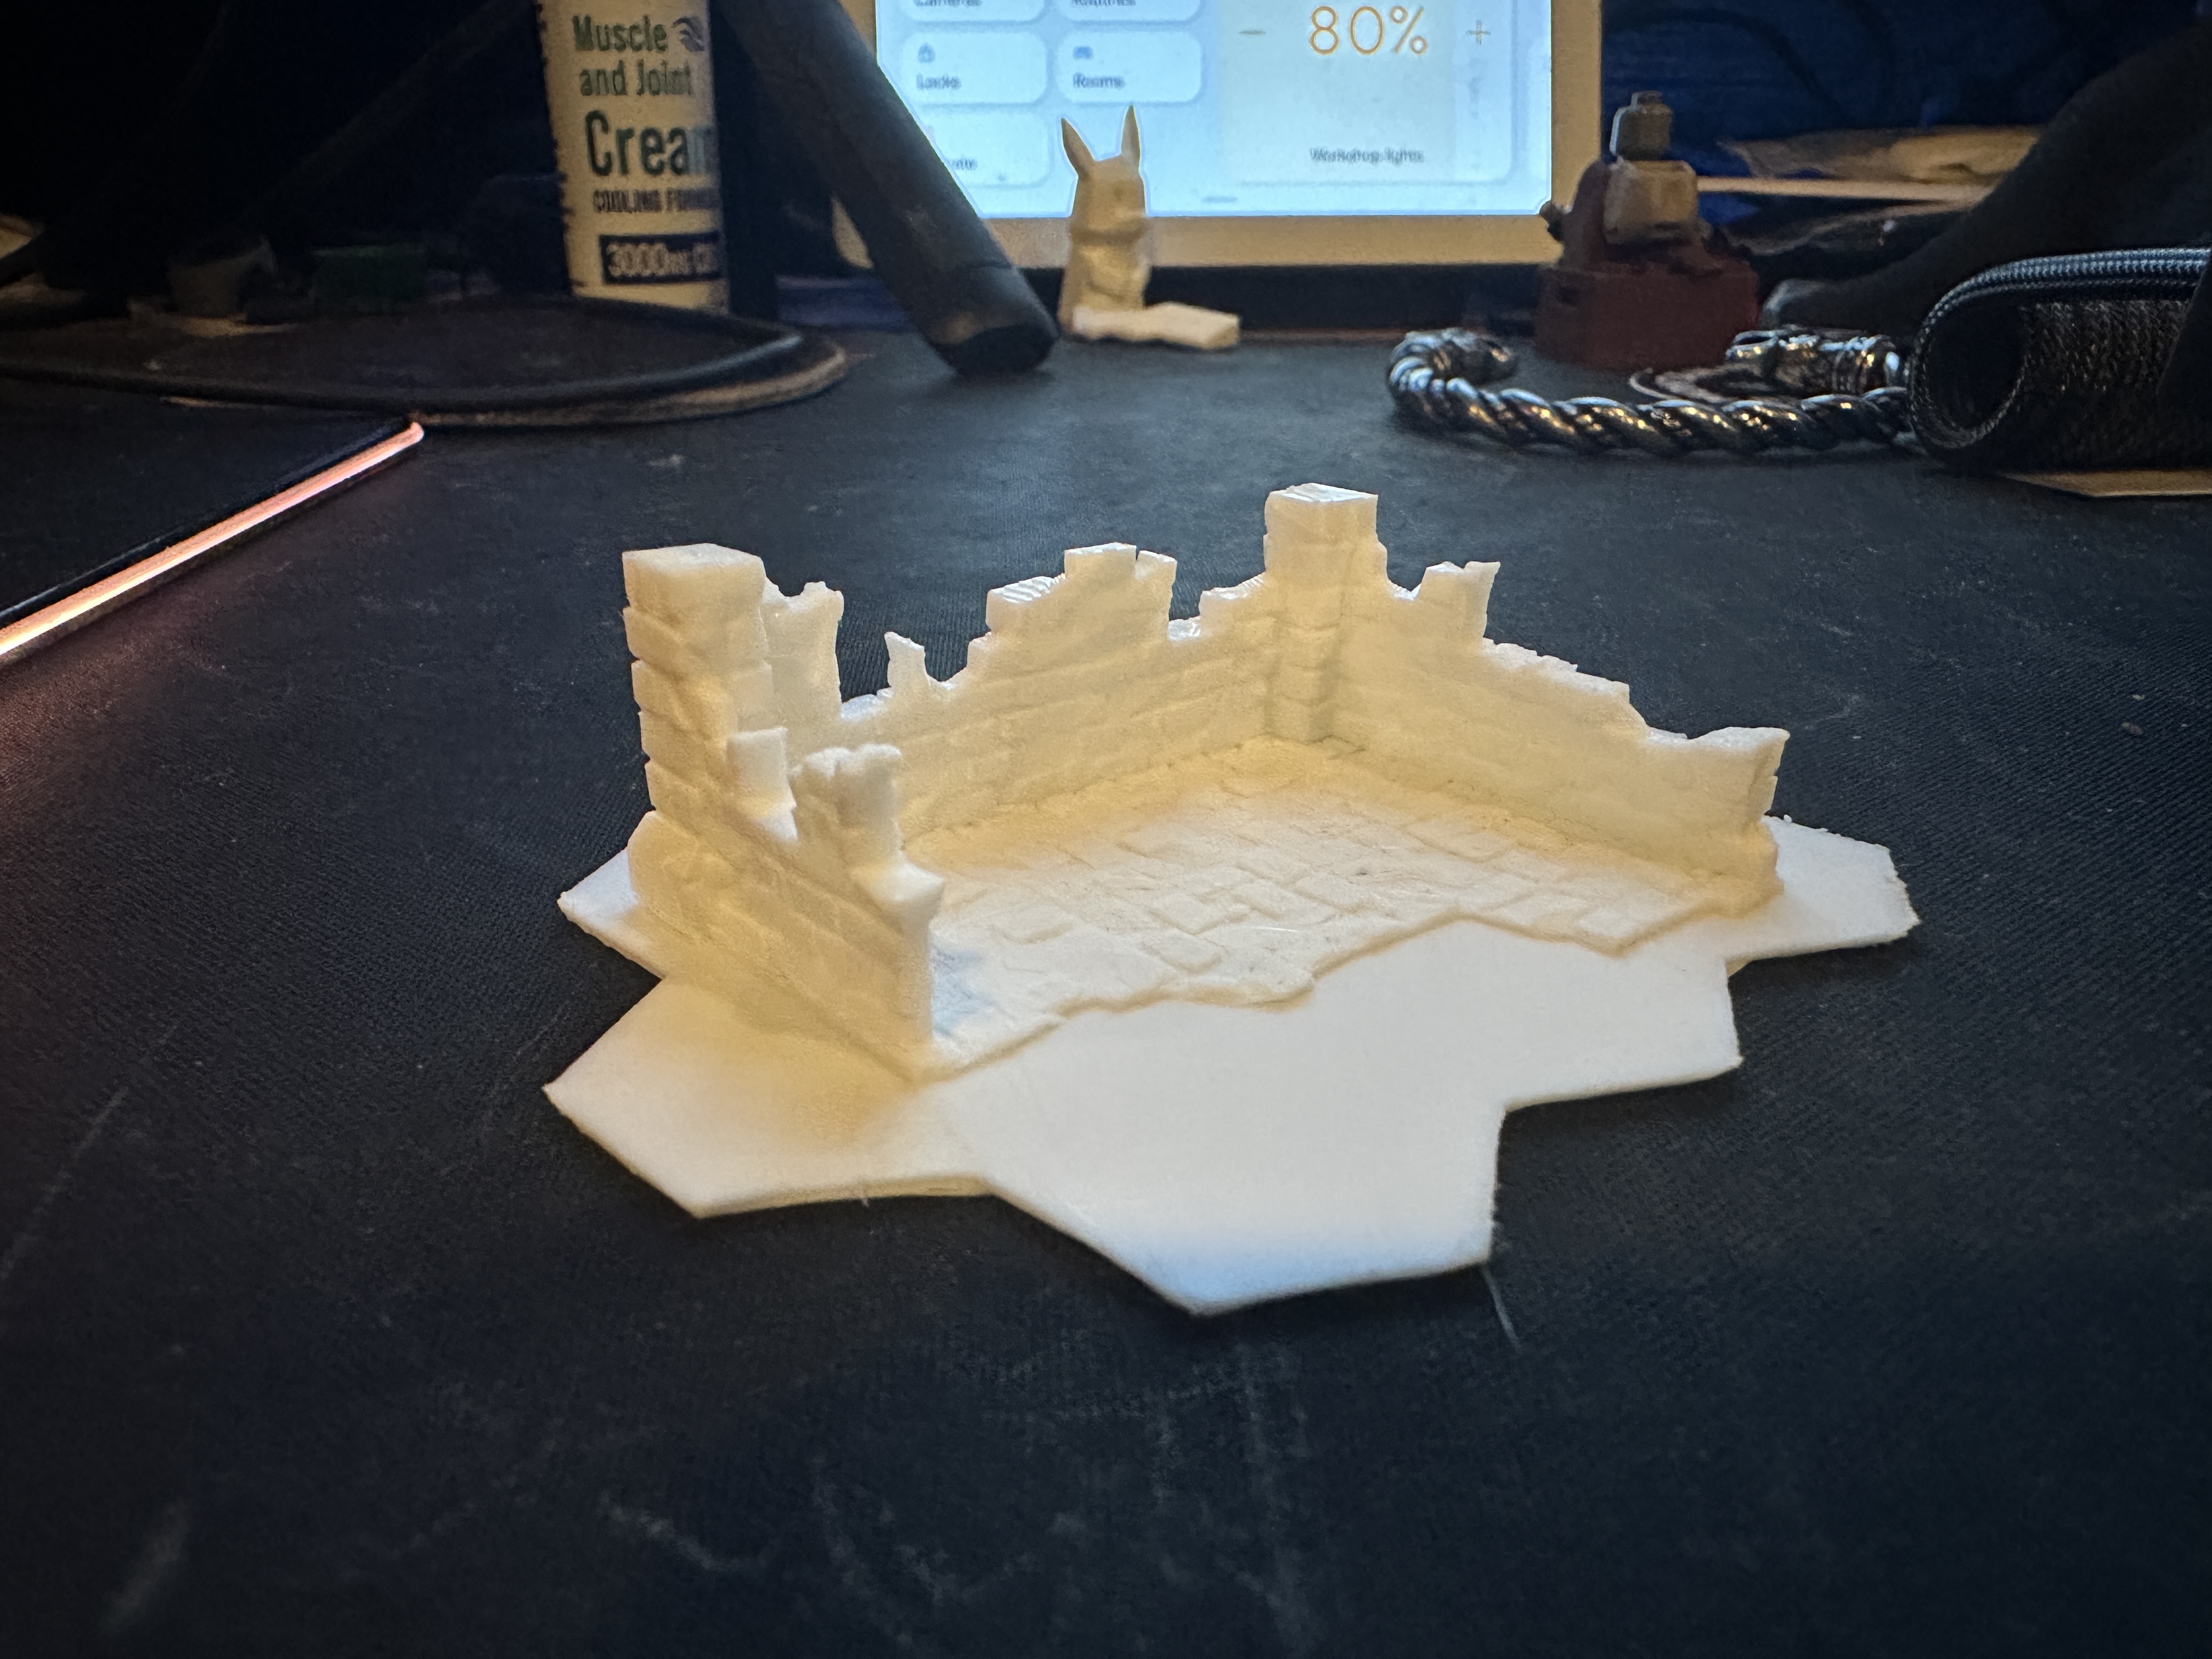
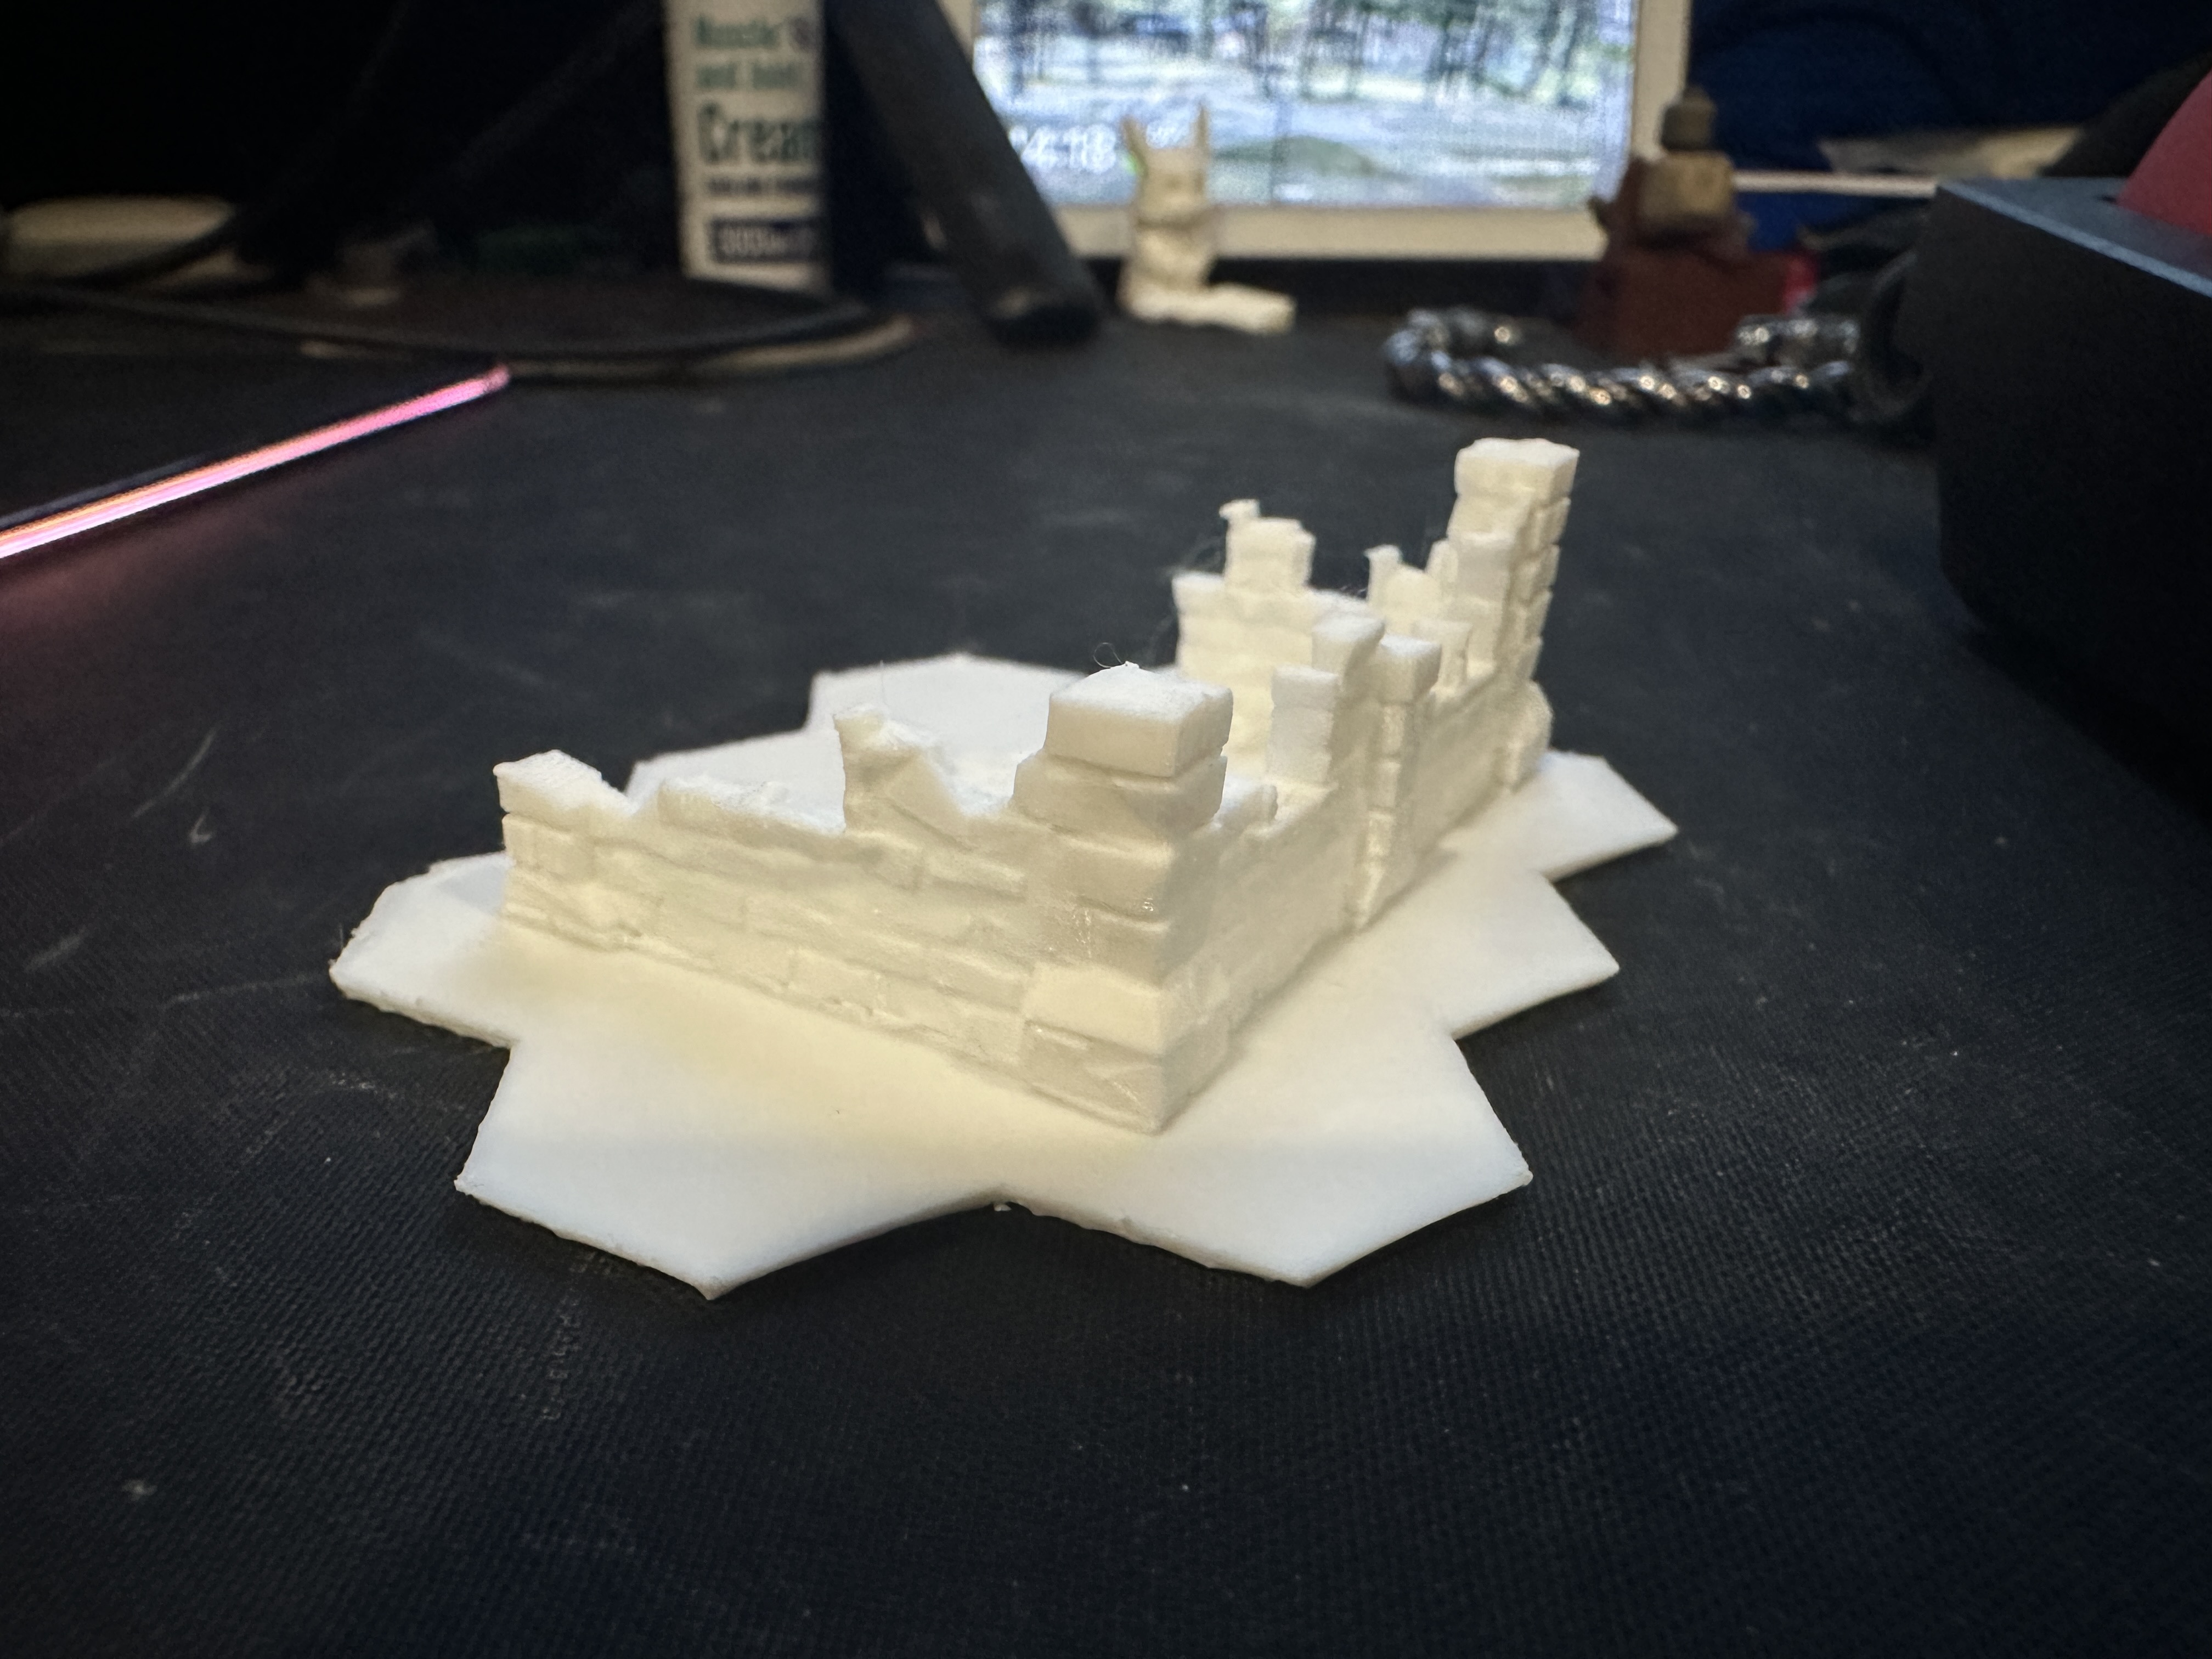
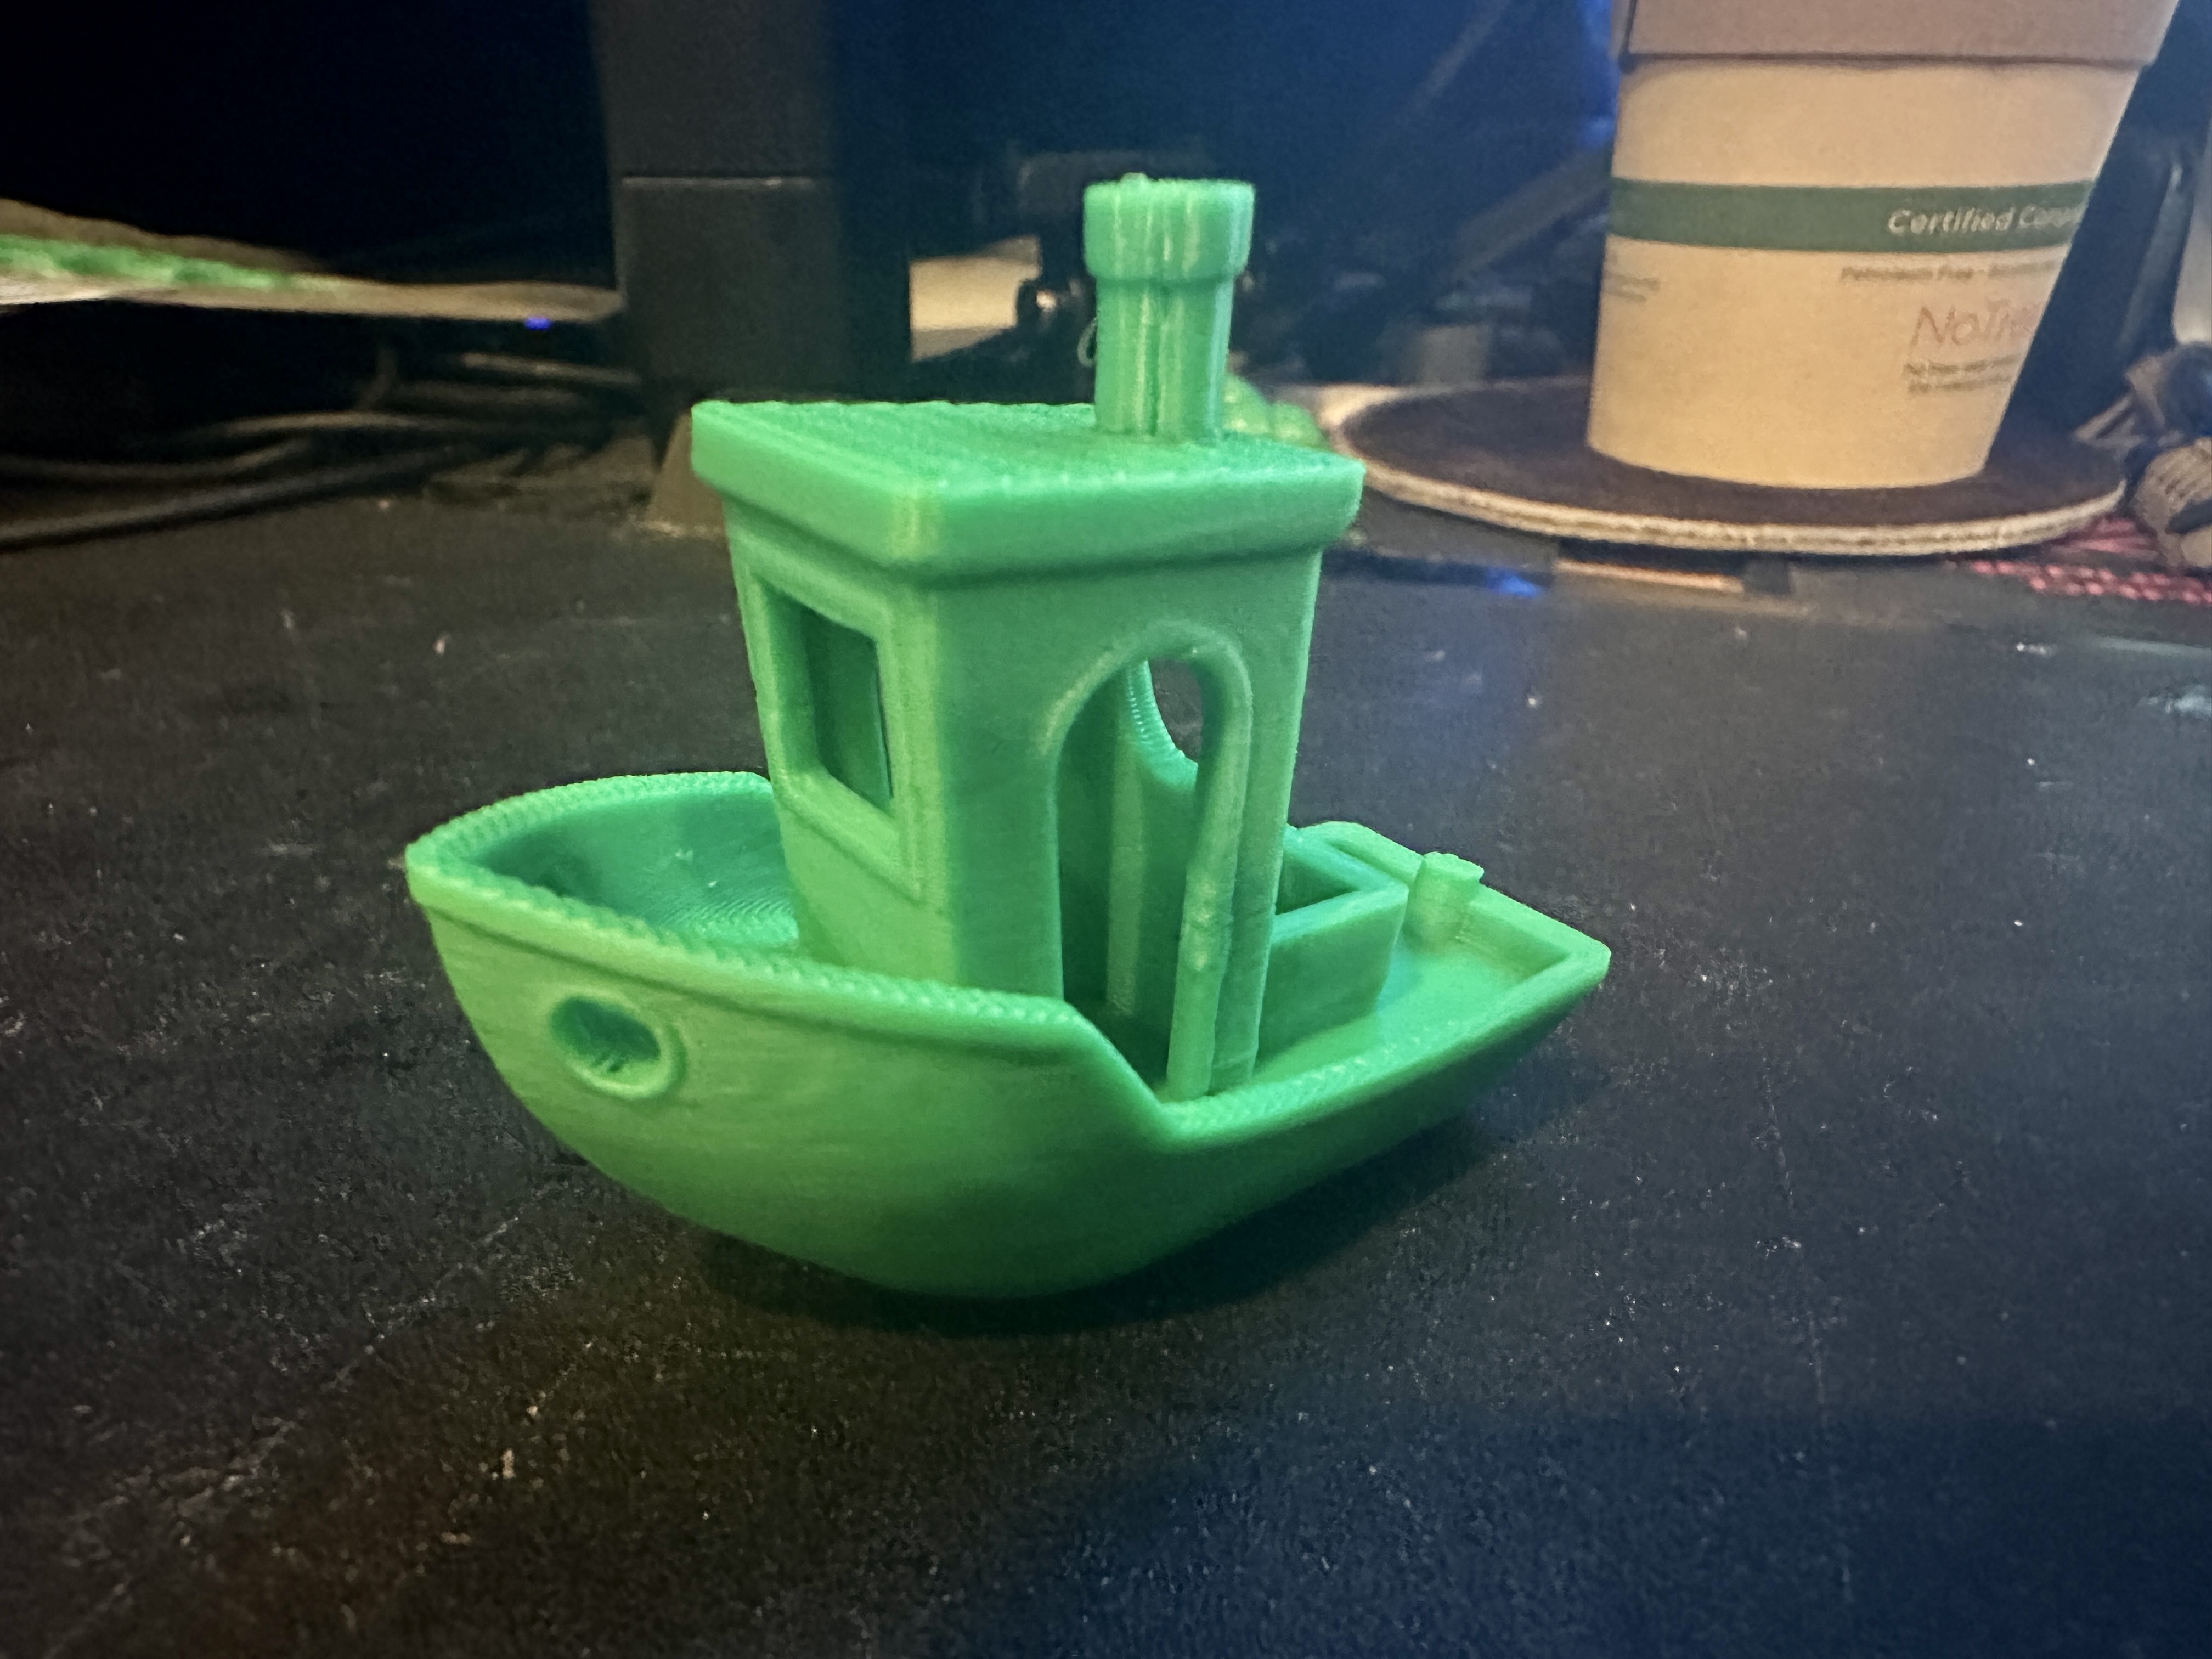
With regards to setup and tuning? Straight out of the box it’s an amazing printer. Here are a couple of shots of it as well as some of the initial prints:
Having said that, after doing some additional research I ended up reading a ton of reviews and watching many, many YouTube videos about the Bambu X1-Carbon. Due to some of these reviews I bit the bullet and pulled the trigger on one.
I purchased a Bambu X1-Carbon Combo on 7/17/2023 and it arrived via UPS on 7/20/2023. It sat in it’s box for a few days until I could find time for the assembly.
The printer is shipped in a pretty large cardboard box, with foam protection on the sides. The printer is packed well so I didn’t expect any kind of damage during shipping. It can be easily taken out from the package by simply pulling from the sides of the plastic bag (But do take care here as plastic bags have a tendency to rip and tear).
While the printer comes pre-assembled (mostly); before you can start printing you will need to remove a few screws that hold some parts in place during shipping. If you purchased the AMS unit you will also need to remove it from the printer’s enclosure via a few additional screws.
You will also need to attach the touchscreen to the printer via a supplied ribbon cable.
Overall the assembly process took longer than the Creality Ender 3 S1 Pro but will still under an hour and signficantly easier that other printers that I’ve owned in the past.
Here is some feedback and a few thoughts after owning the Bambu for a few months.
Very very fast. I did a large sample print as a reference wall-honeycomb-part.stl and the Bambu was approximately 240.63% faster than the Creality Ender 3 S1 Pro.
| Printer | Total Time | Time in Minutes |
|---|---|---|
| Bambu | 1h 36m | 96 |
| Creality | 5h 27m | 327 |
By this I mean it’s not slow at printing it’s slow at getting ready to print. On average about 7.3% of the total print time is in setup or prep. i.e. homing the bed and leveling, checking resonance, calibrating input shaping and pressure advance for extrusion. This also doesn’t account for bed and nozzle heating.
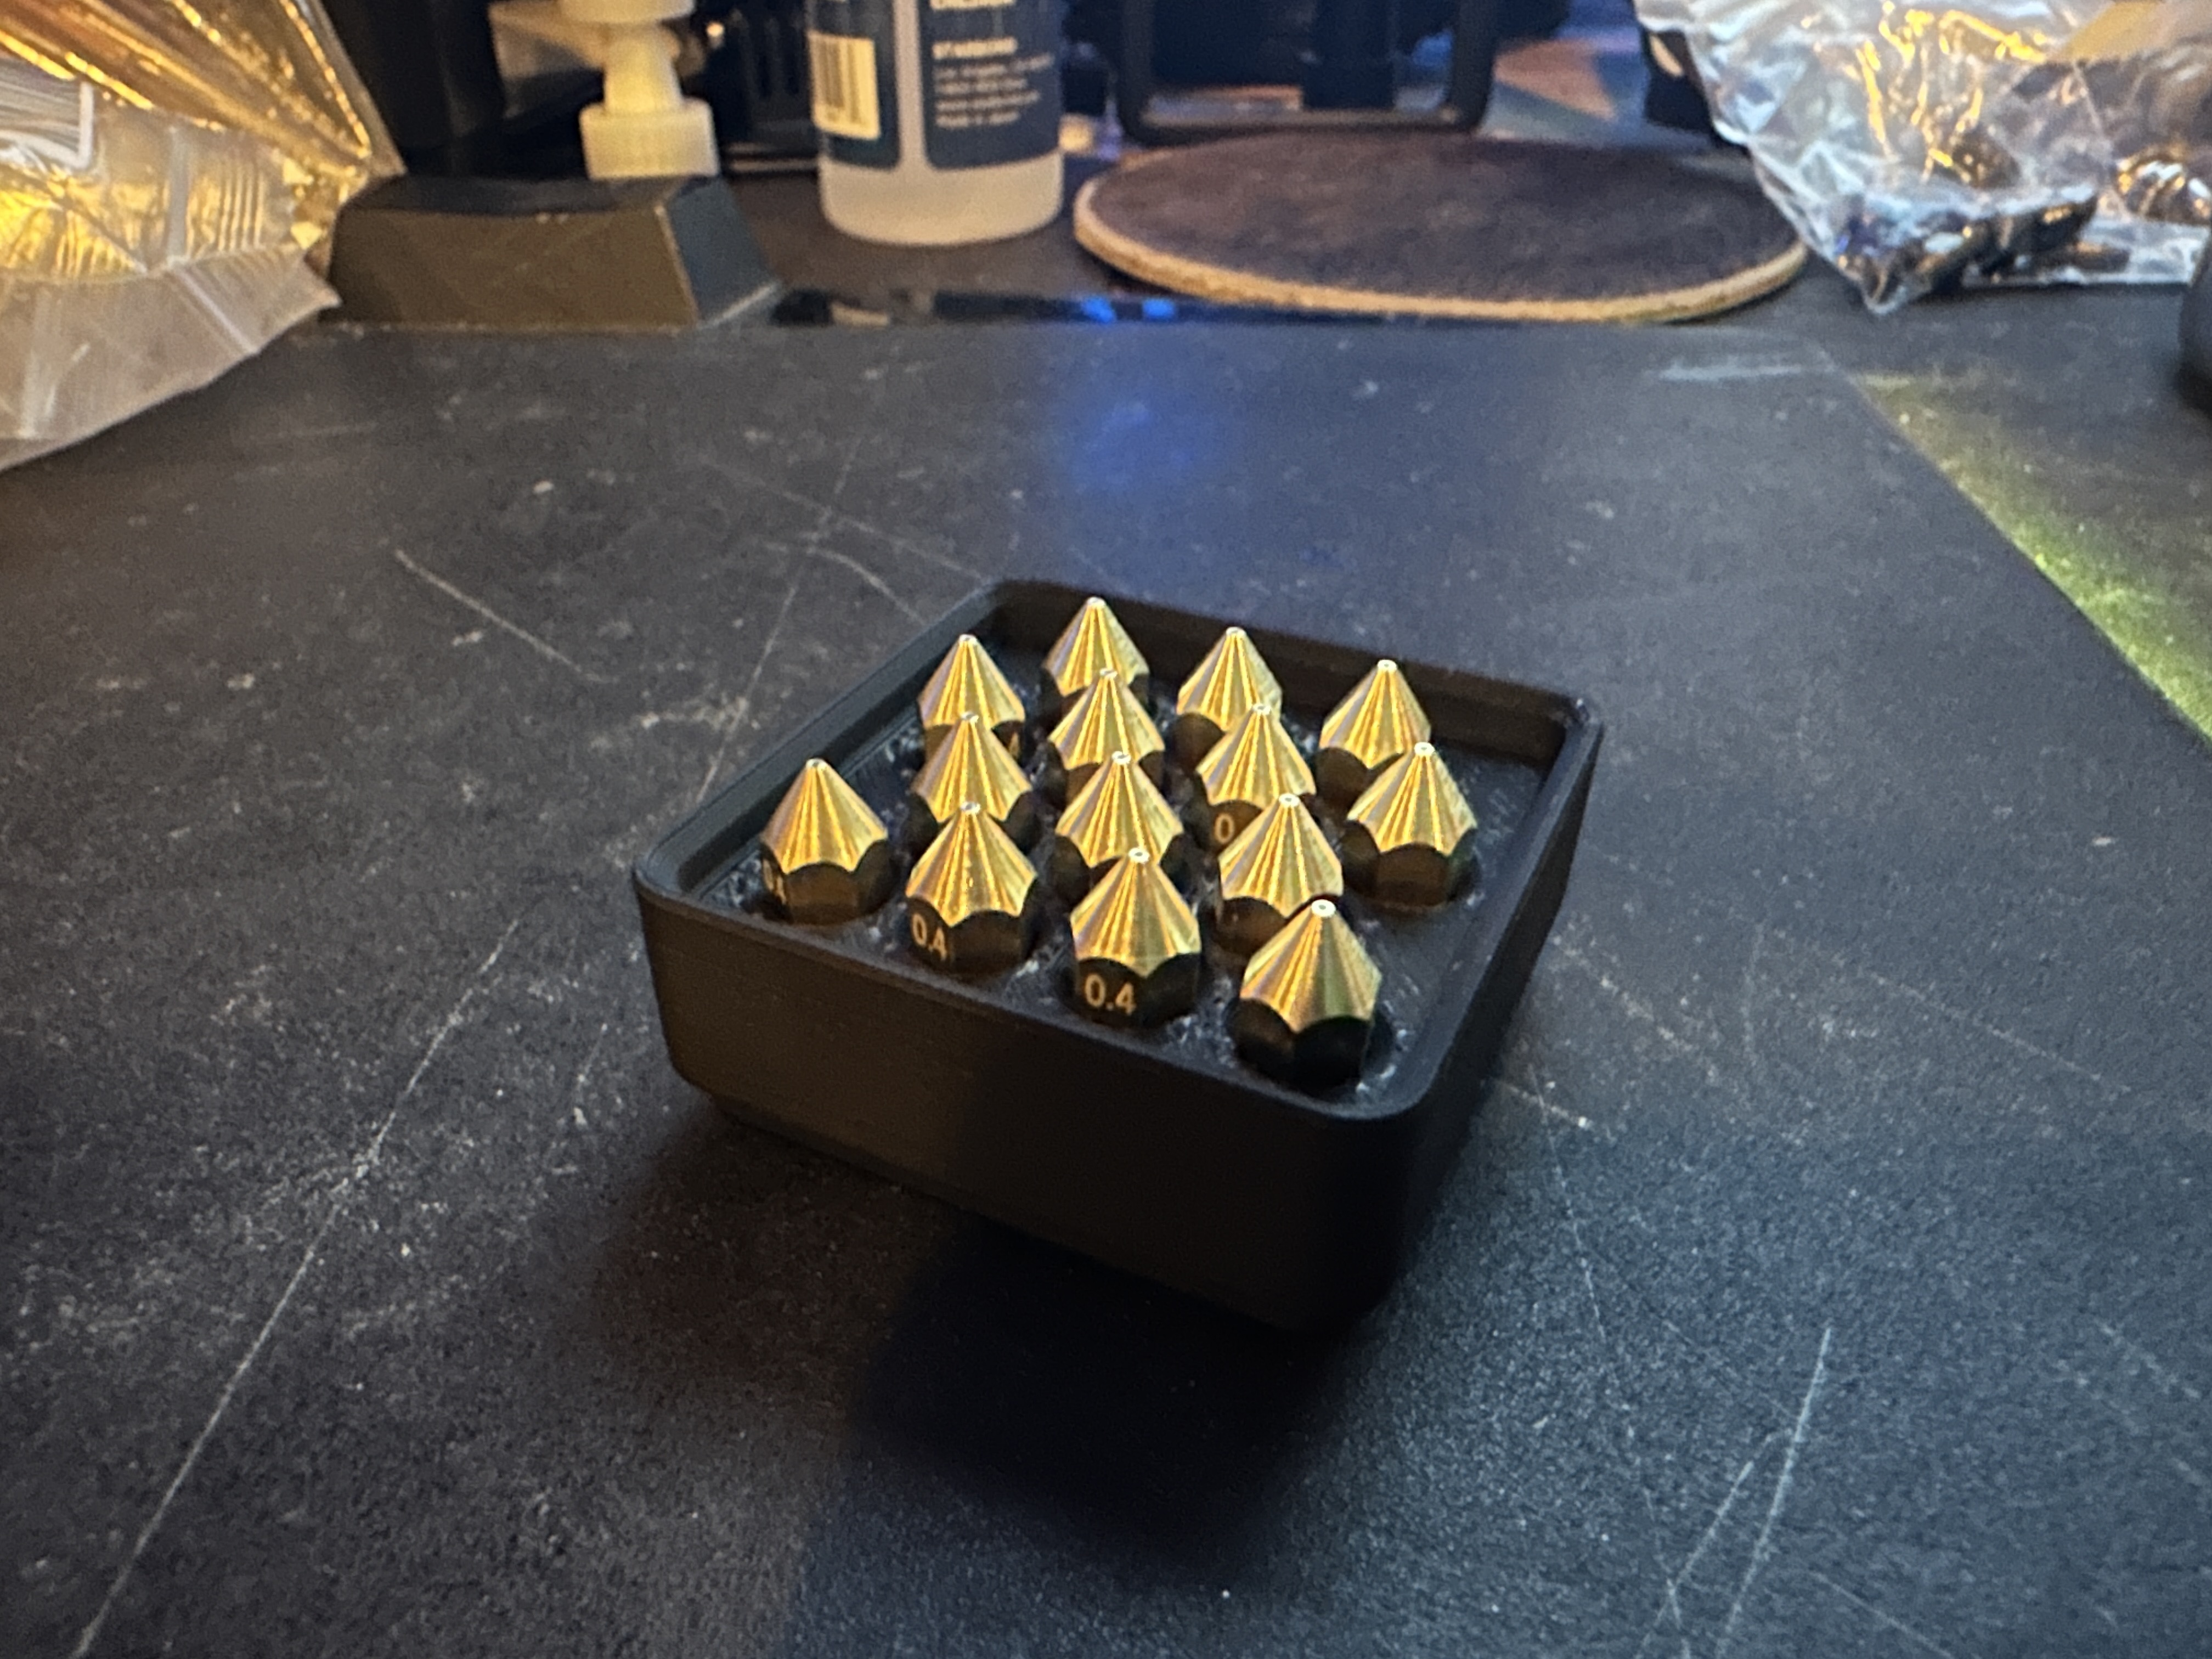
Changing the hotend/extruder on the Creality is as simple as grabbing a wrench, untightening the exiting nozzle and tightening the new nozzle. As Bambu uses a completely integrated hotend/extruder it’s slightly more complicated. Here’s how that works:
As I said, slightly more complicated but not completely horrible.
By default the Bambu X1-C comes with both the Bambu Cool Plate and a Bambu Engineering Plate which is going to require the use of a glue stick or painter’s tape to ensure great adhesion. The Creality Ender 3 S1 Pro by default came with a spring steel textured PEI plate which is far superior. If you chose to pick up a Bambu X1-C then you should (at the time of purchase) add on a Bambu Textured PEI Plate as well. Trust me it’s worth the $37.99 USD.
The Bambu X1-C comes with some starter filament. One of the things I love about the AMS unit is the ability to read and register filament via RFID. Unfortunately this is only available through the use of Bambu Filaments.
Initially the price of Bambu filaments versus say Polymaker there appears to be a $3 to $4 difference per kg. While this might be a problem for some I’ve not found it to be a showstopper due to the aforementioned RFID tagging for filament.
A few other things to note is that once you have a few empty spools or order the empty spools from Bambu for the most part you should be ordered filament via the refill option which brings the prices inline with Polymaker. The process of refilling a spool takes 3-4 minutes and requires no tools or winders.
Filament orders can only happen through the Bambu Store, there is no Amazon option (booooooo) and shipping options (via FedEx) can take up to 10 days so plan accordingly. I think my second filament order was in the neighborhood of 30kgs and somewhere around $750 USD but I didn’t have to order filament for a few more months.
I liked my original Bambu X1-C so much that I ending up purchasing a second unit as well.
I earnestly believe that the Bambu X1-C printer delivers commercial quality at a consumer price point and it’s well worth the cost.
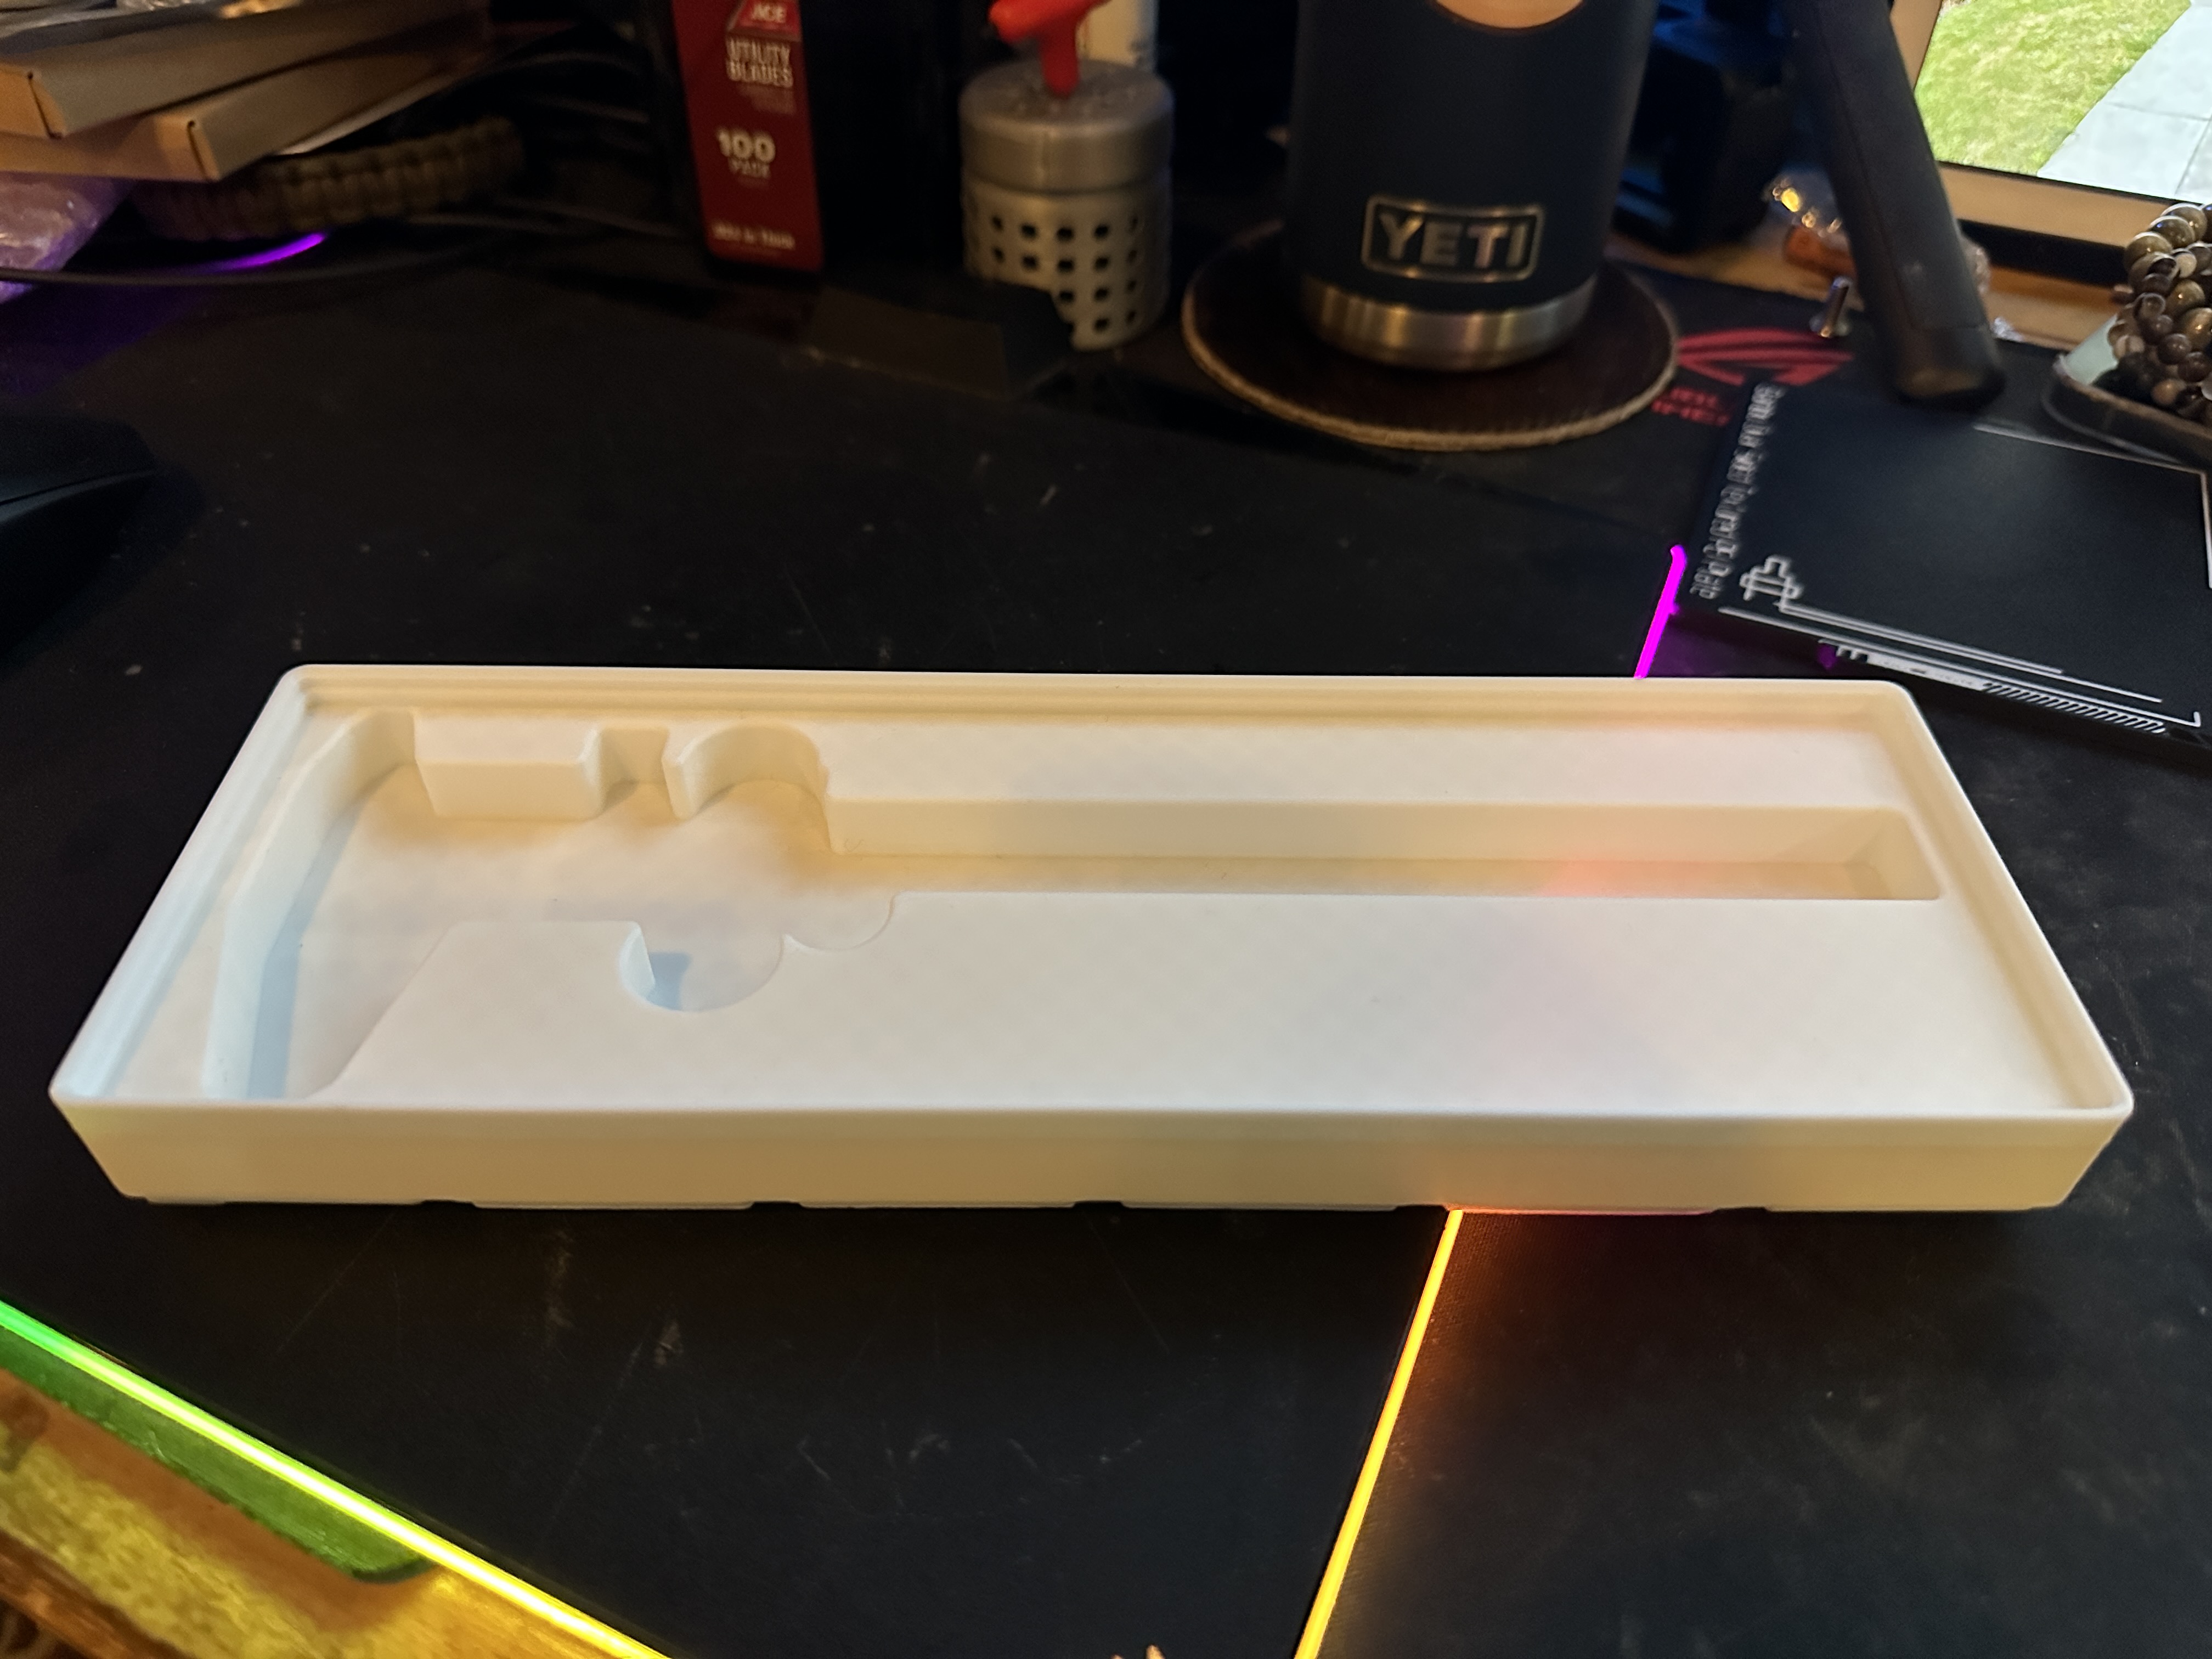
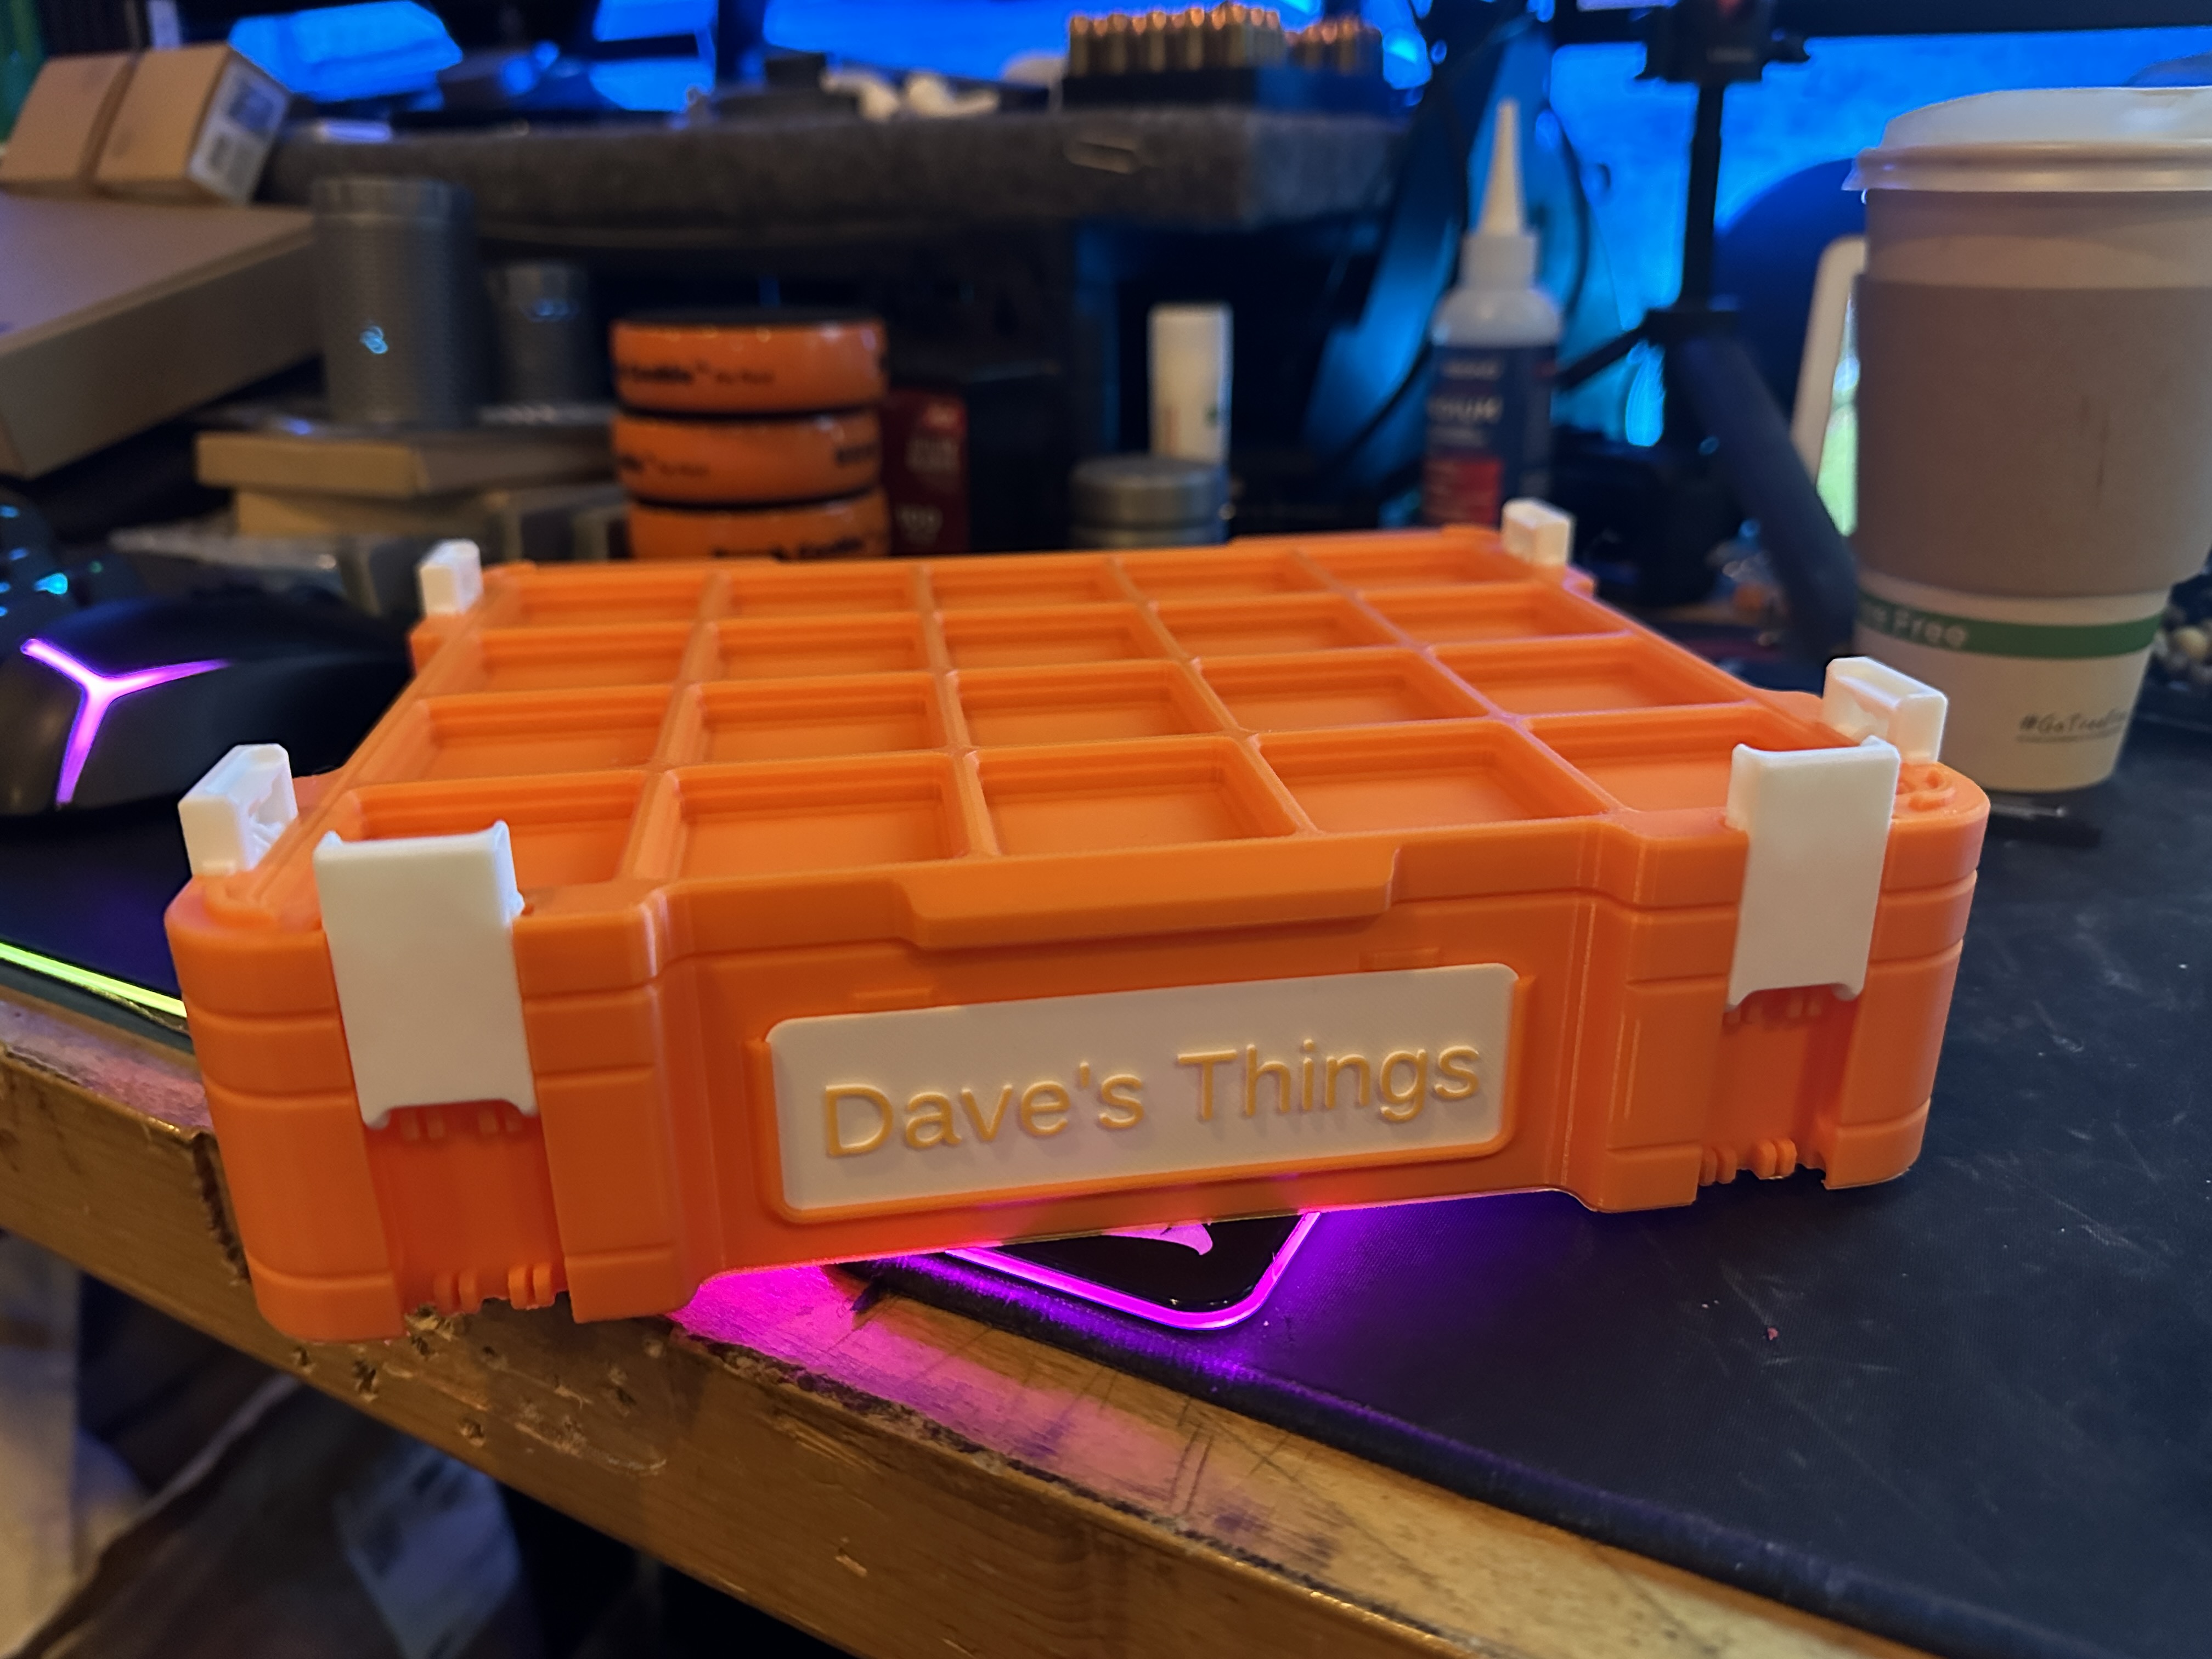
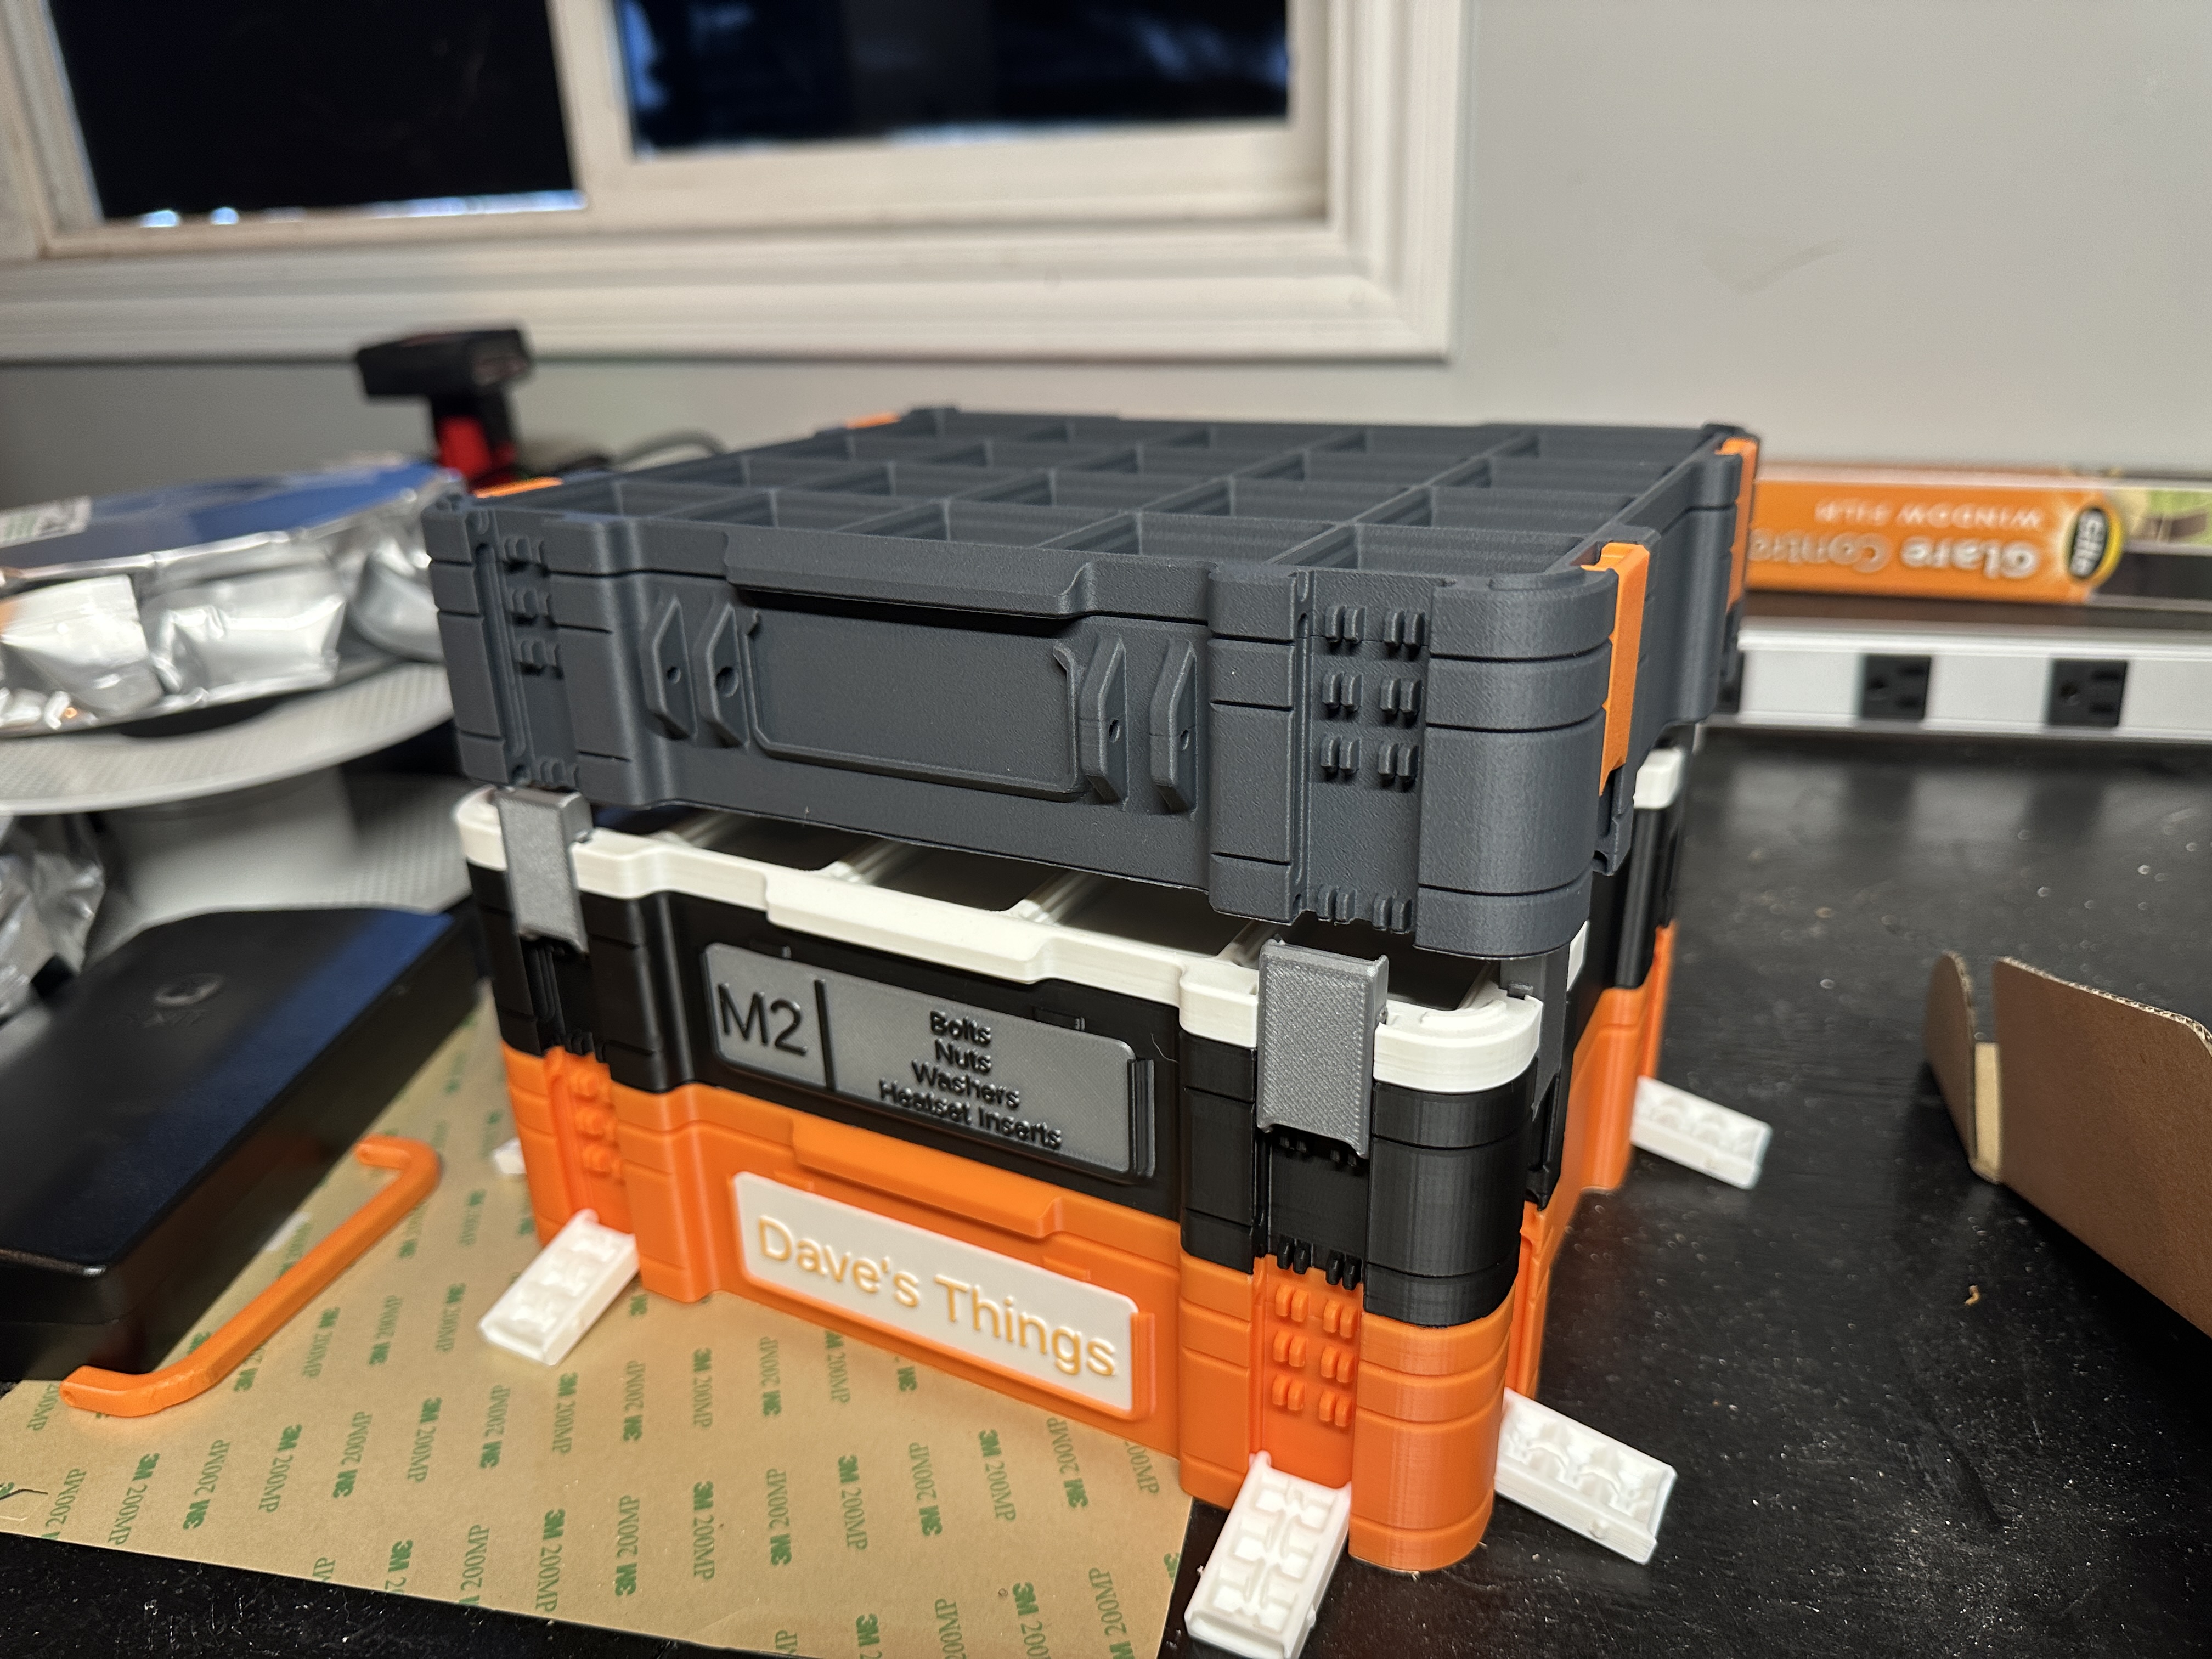
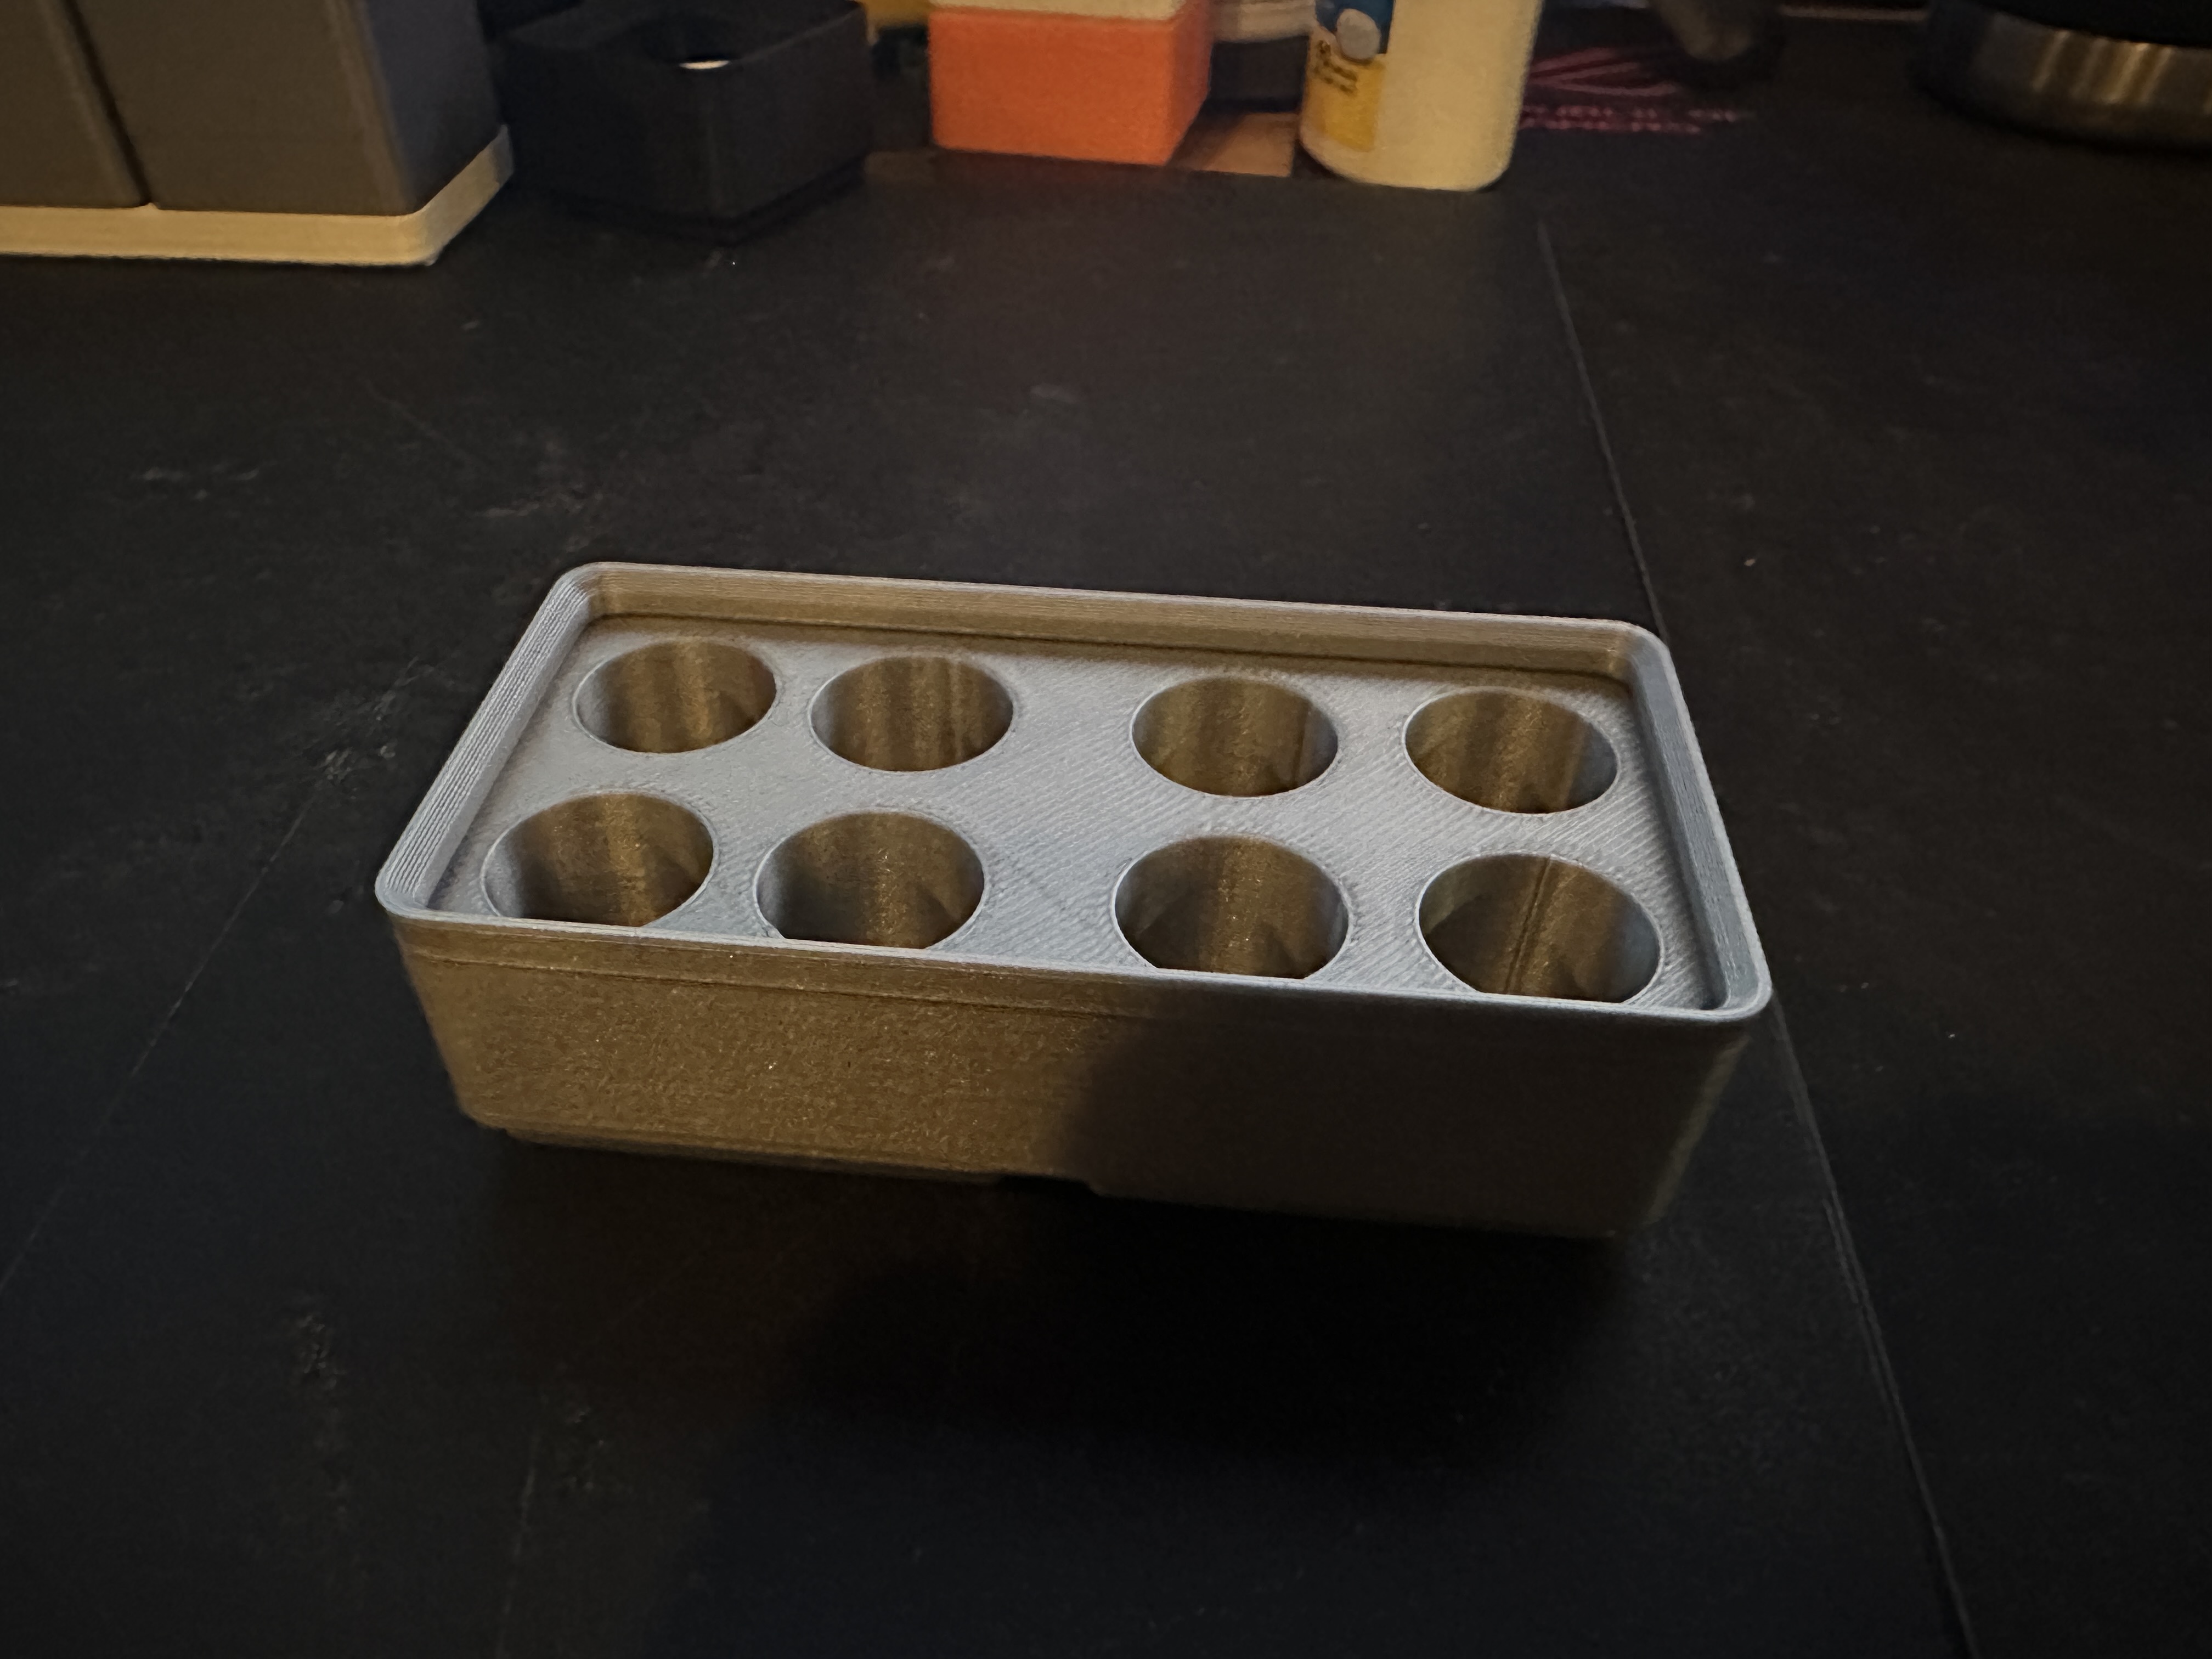
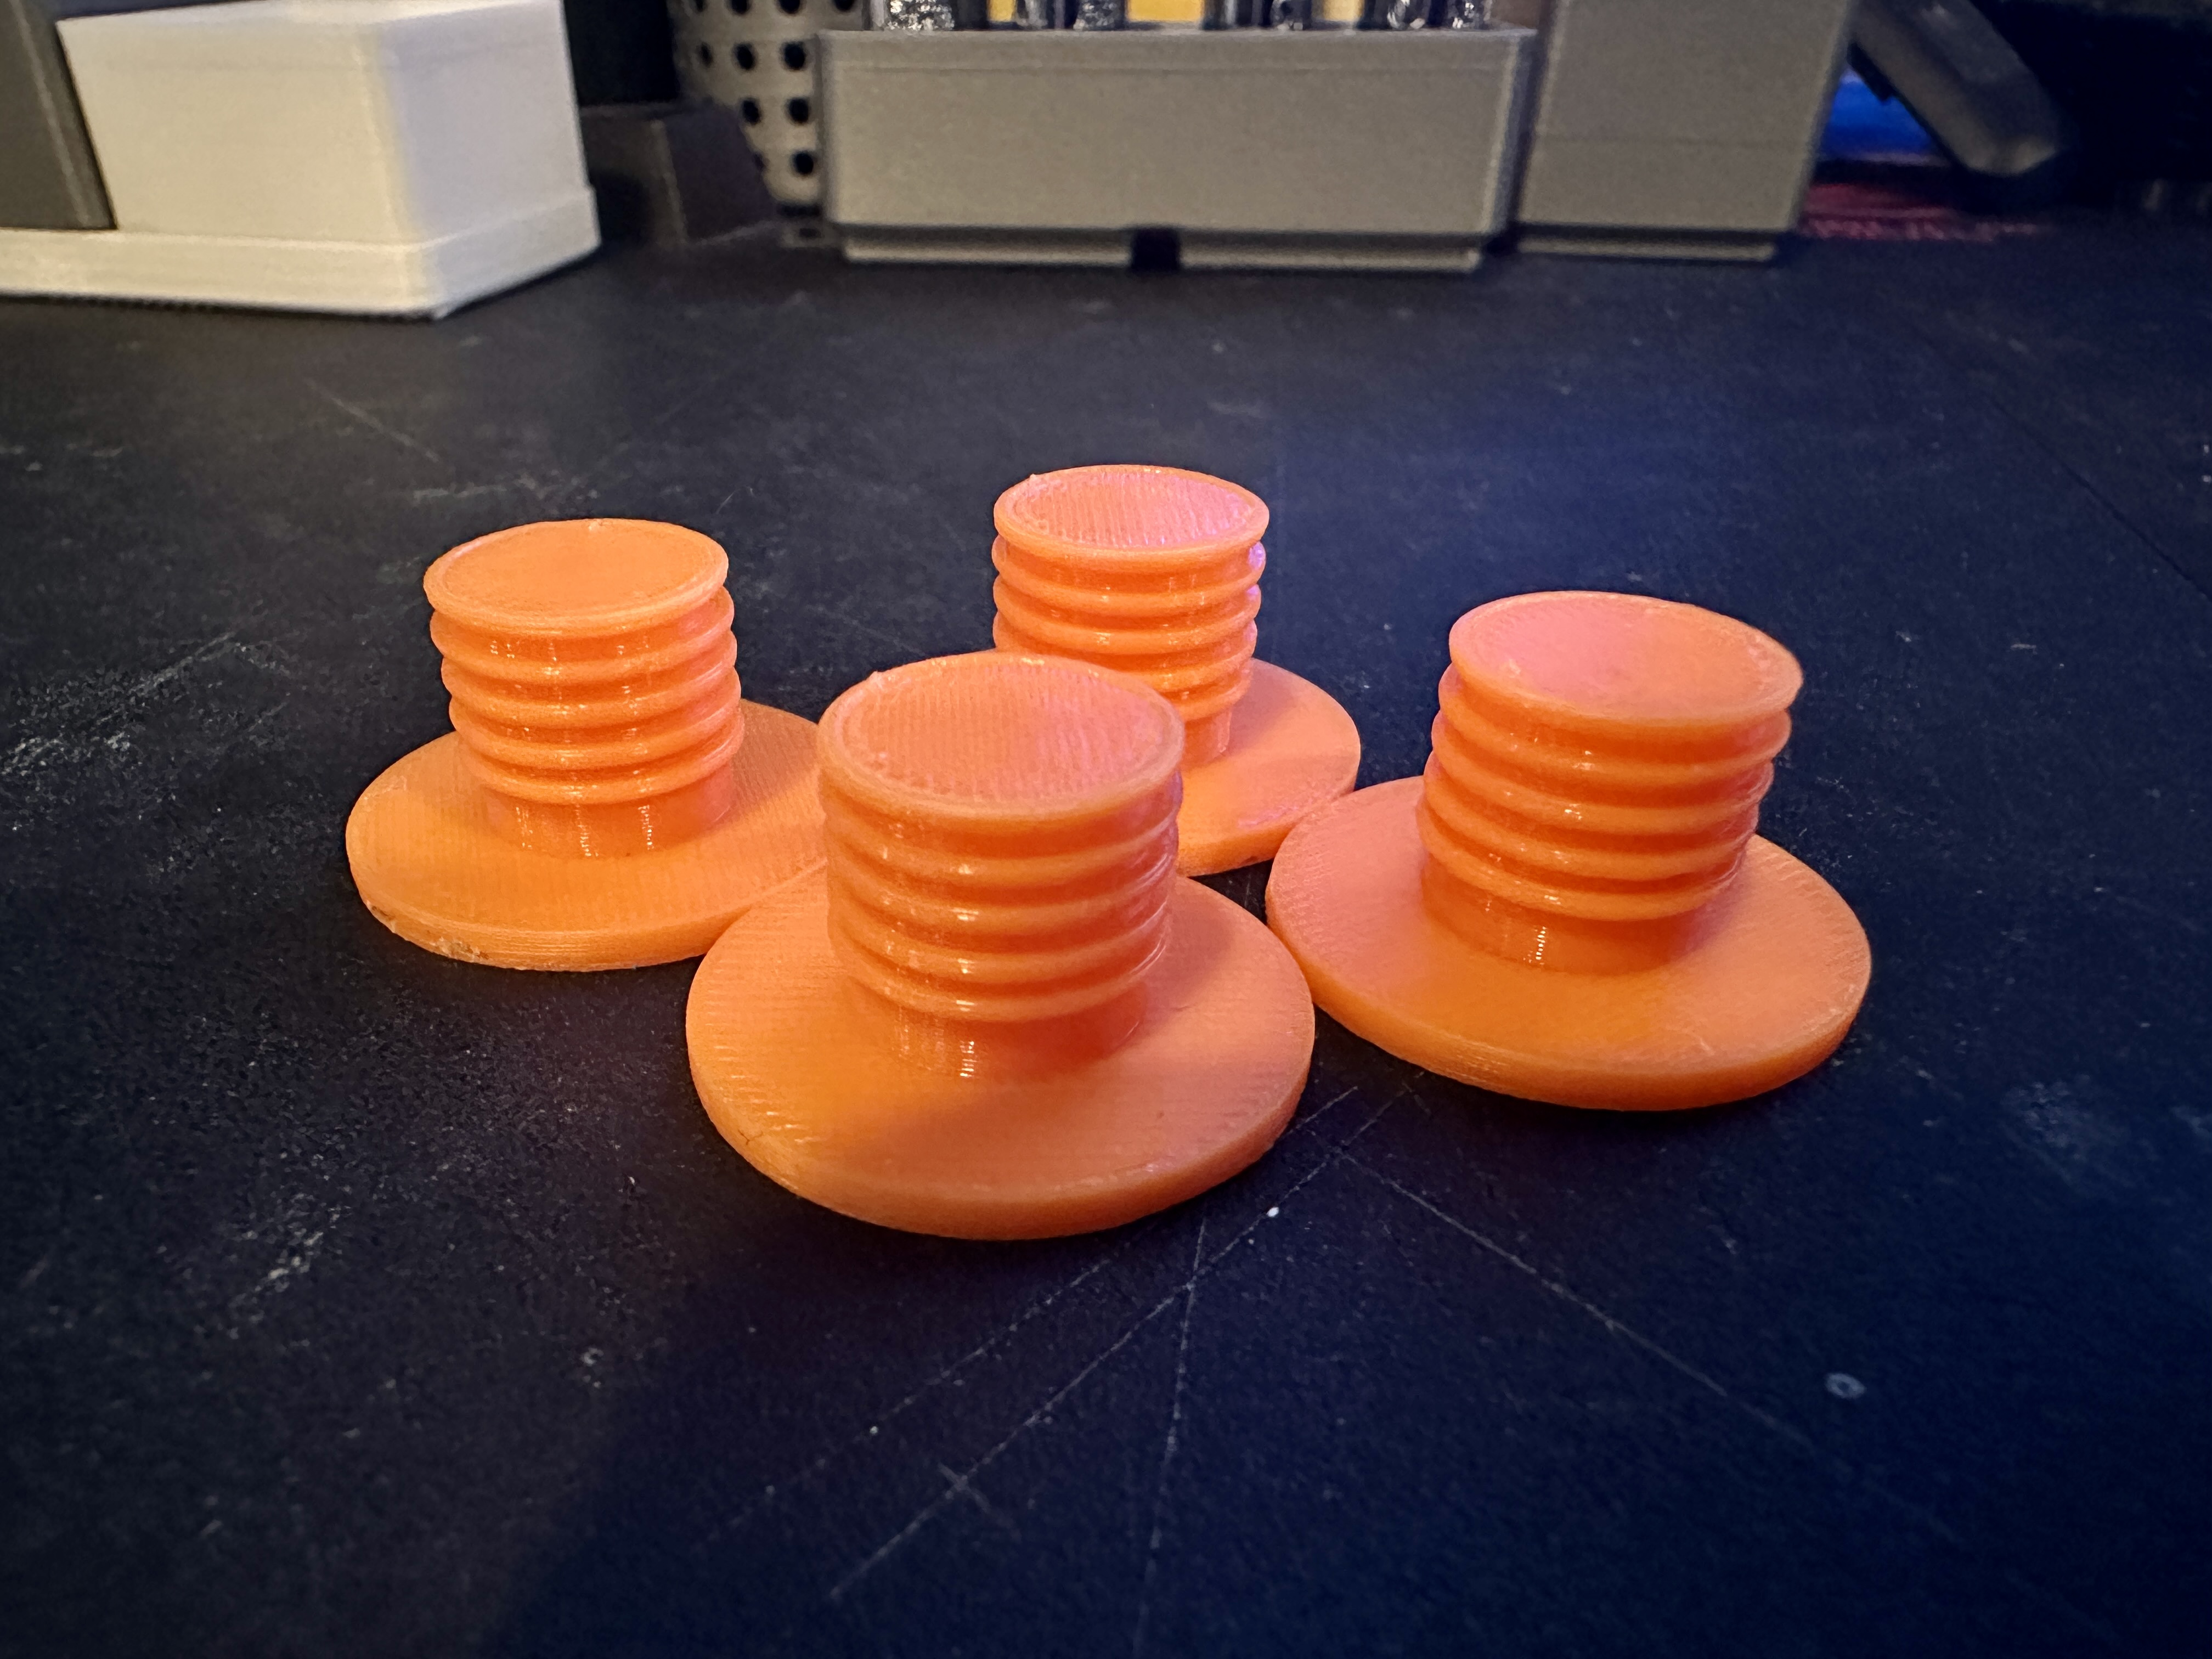
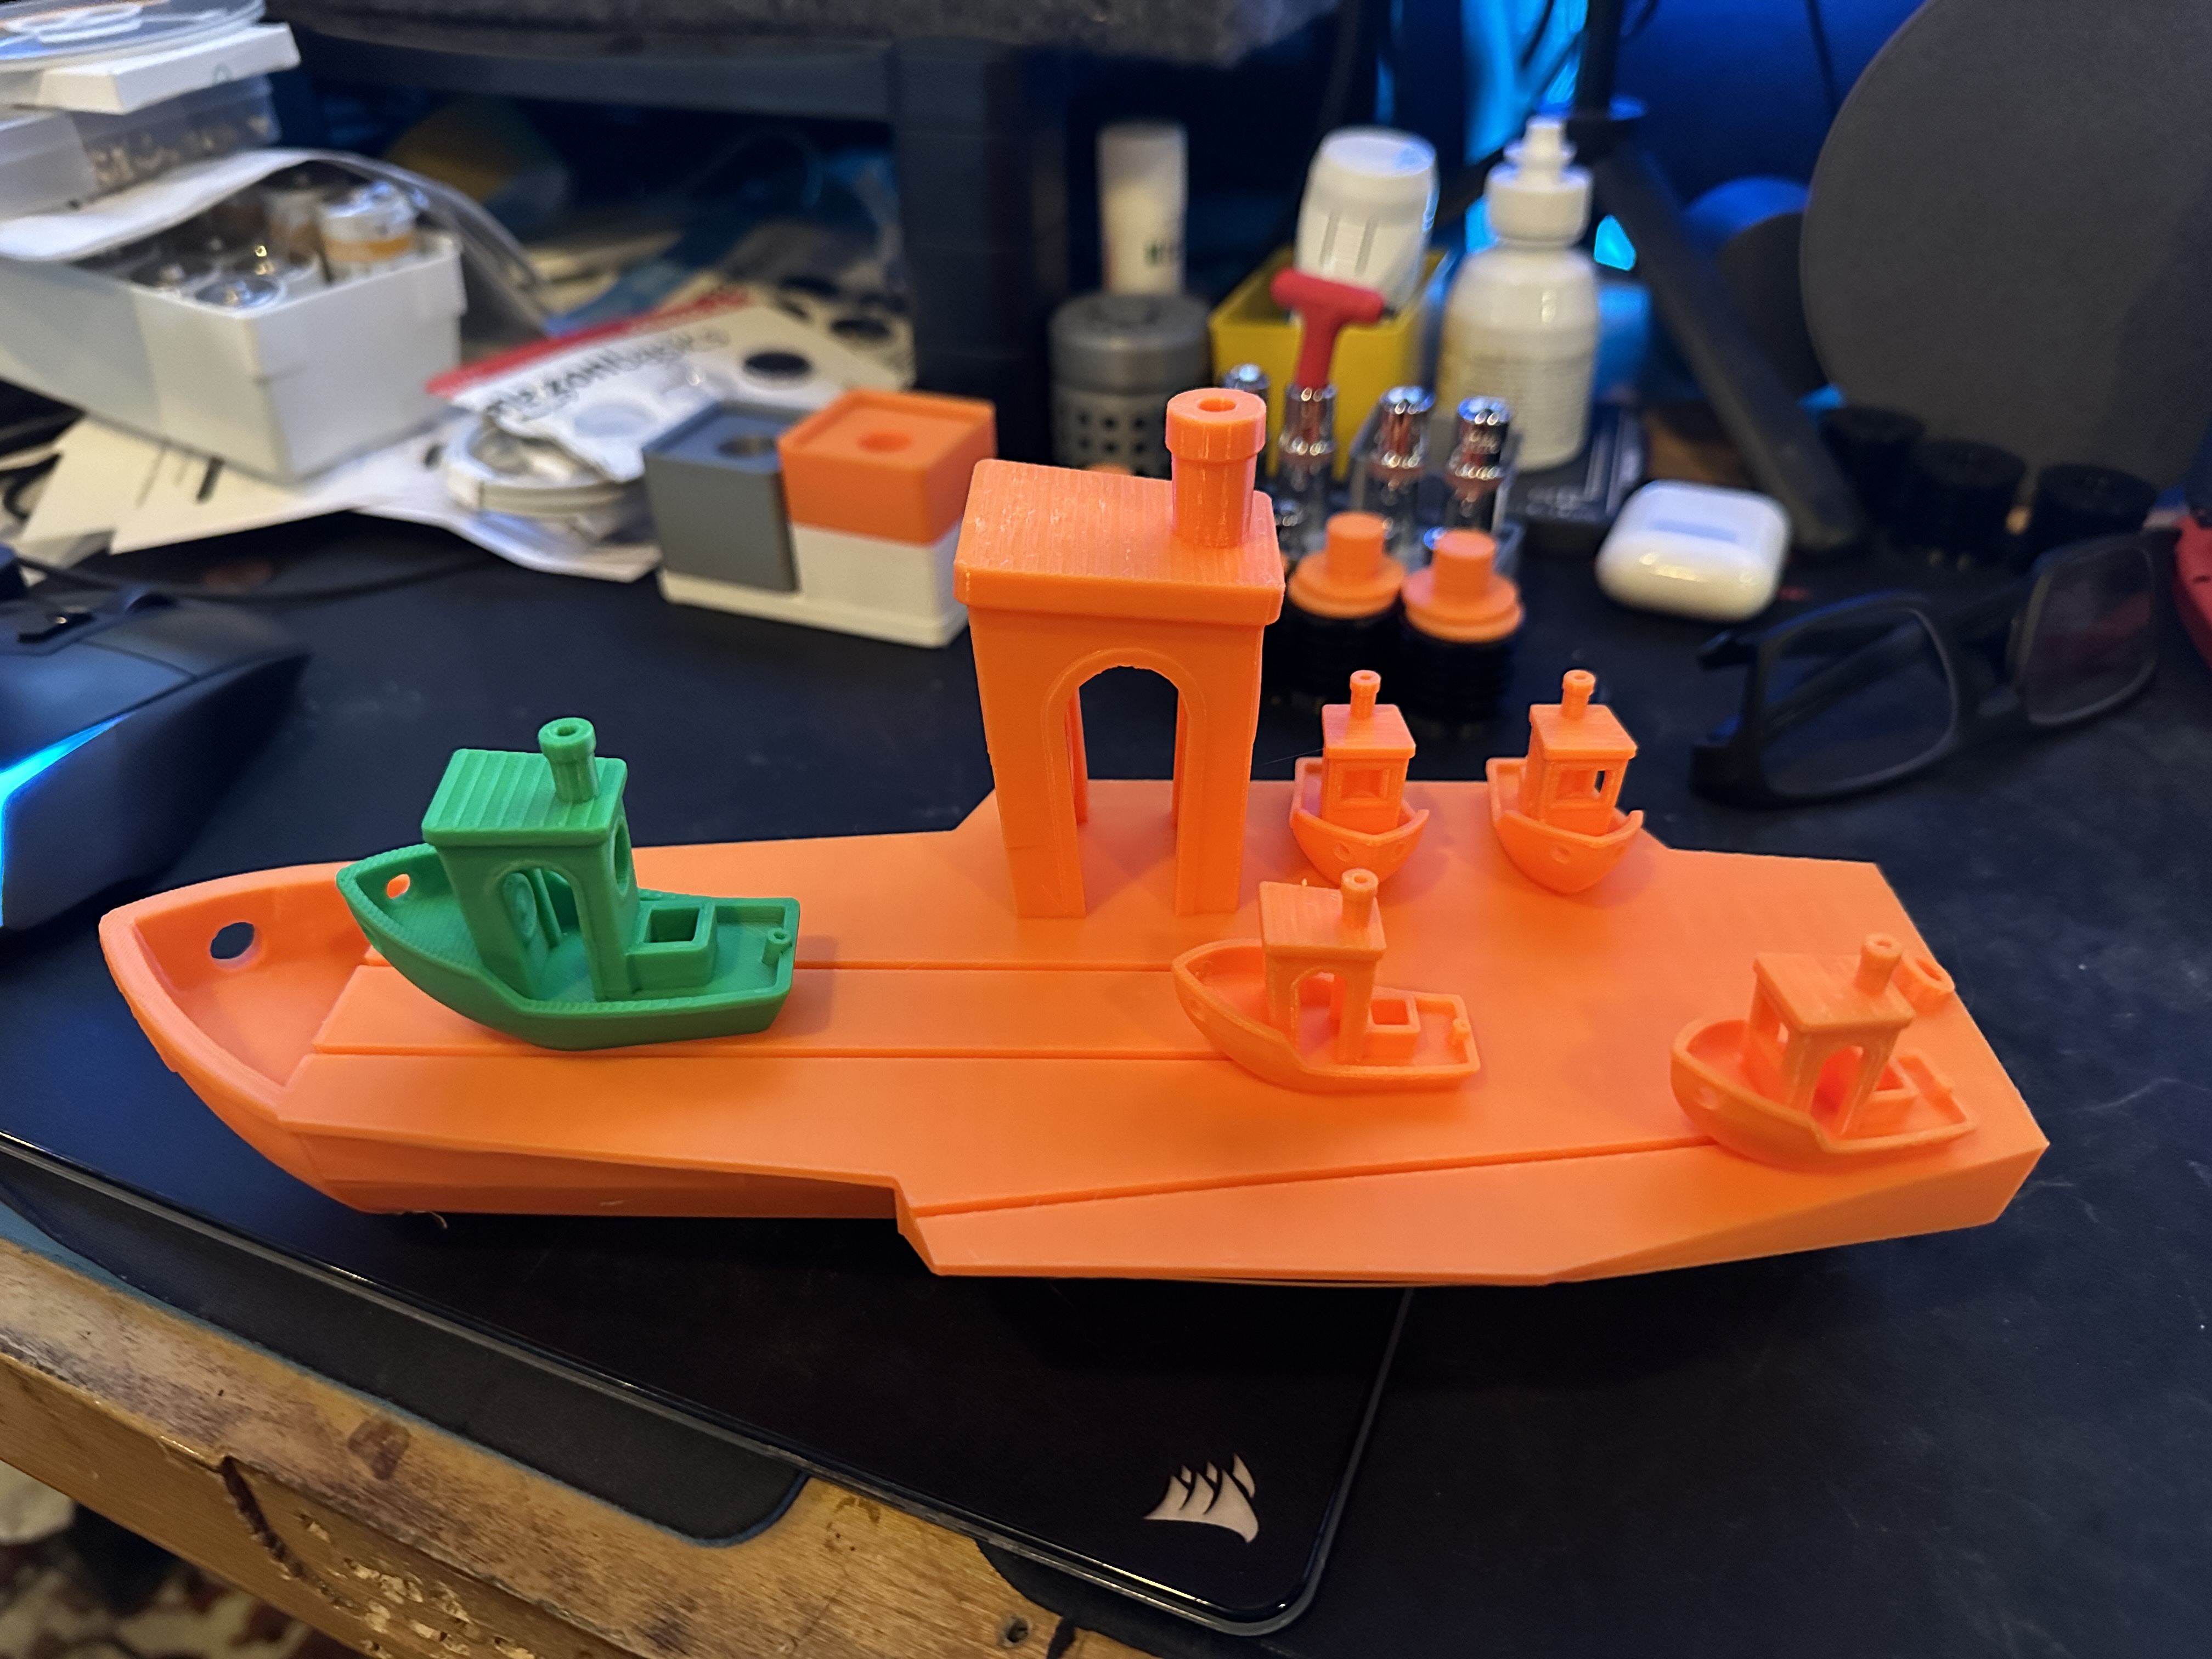
Here is a photo gallery of some of the prints from the Bambu X1-C:

I can certainly state the experience now days is significantly better than when I put my first 3D Printer together, a Prusa Mendel that is show below.

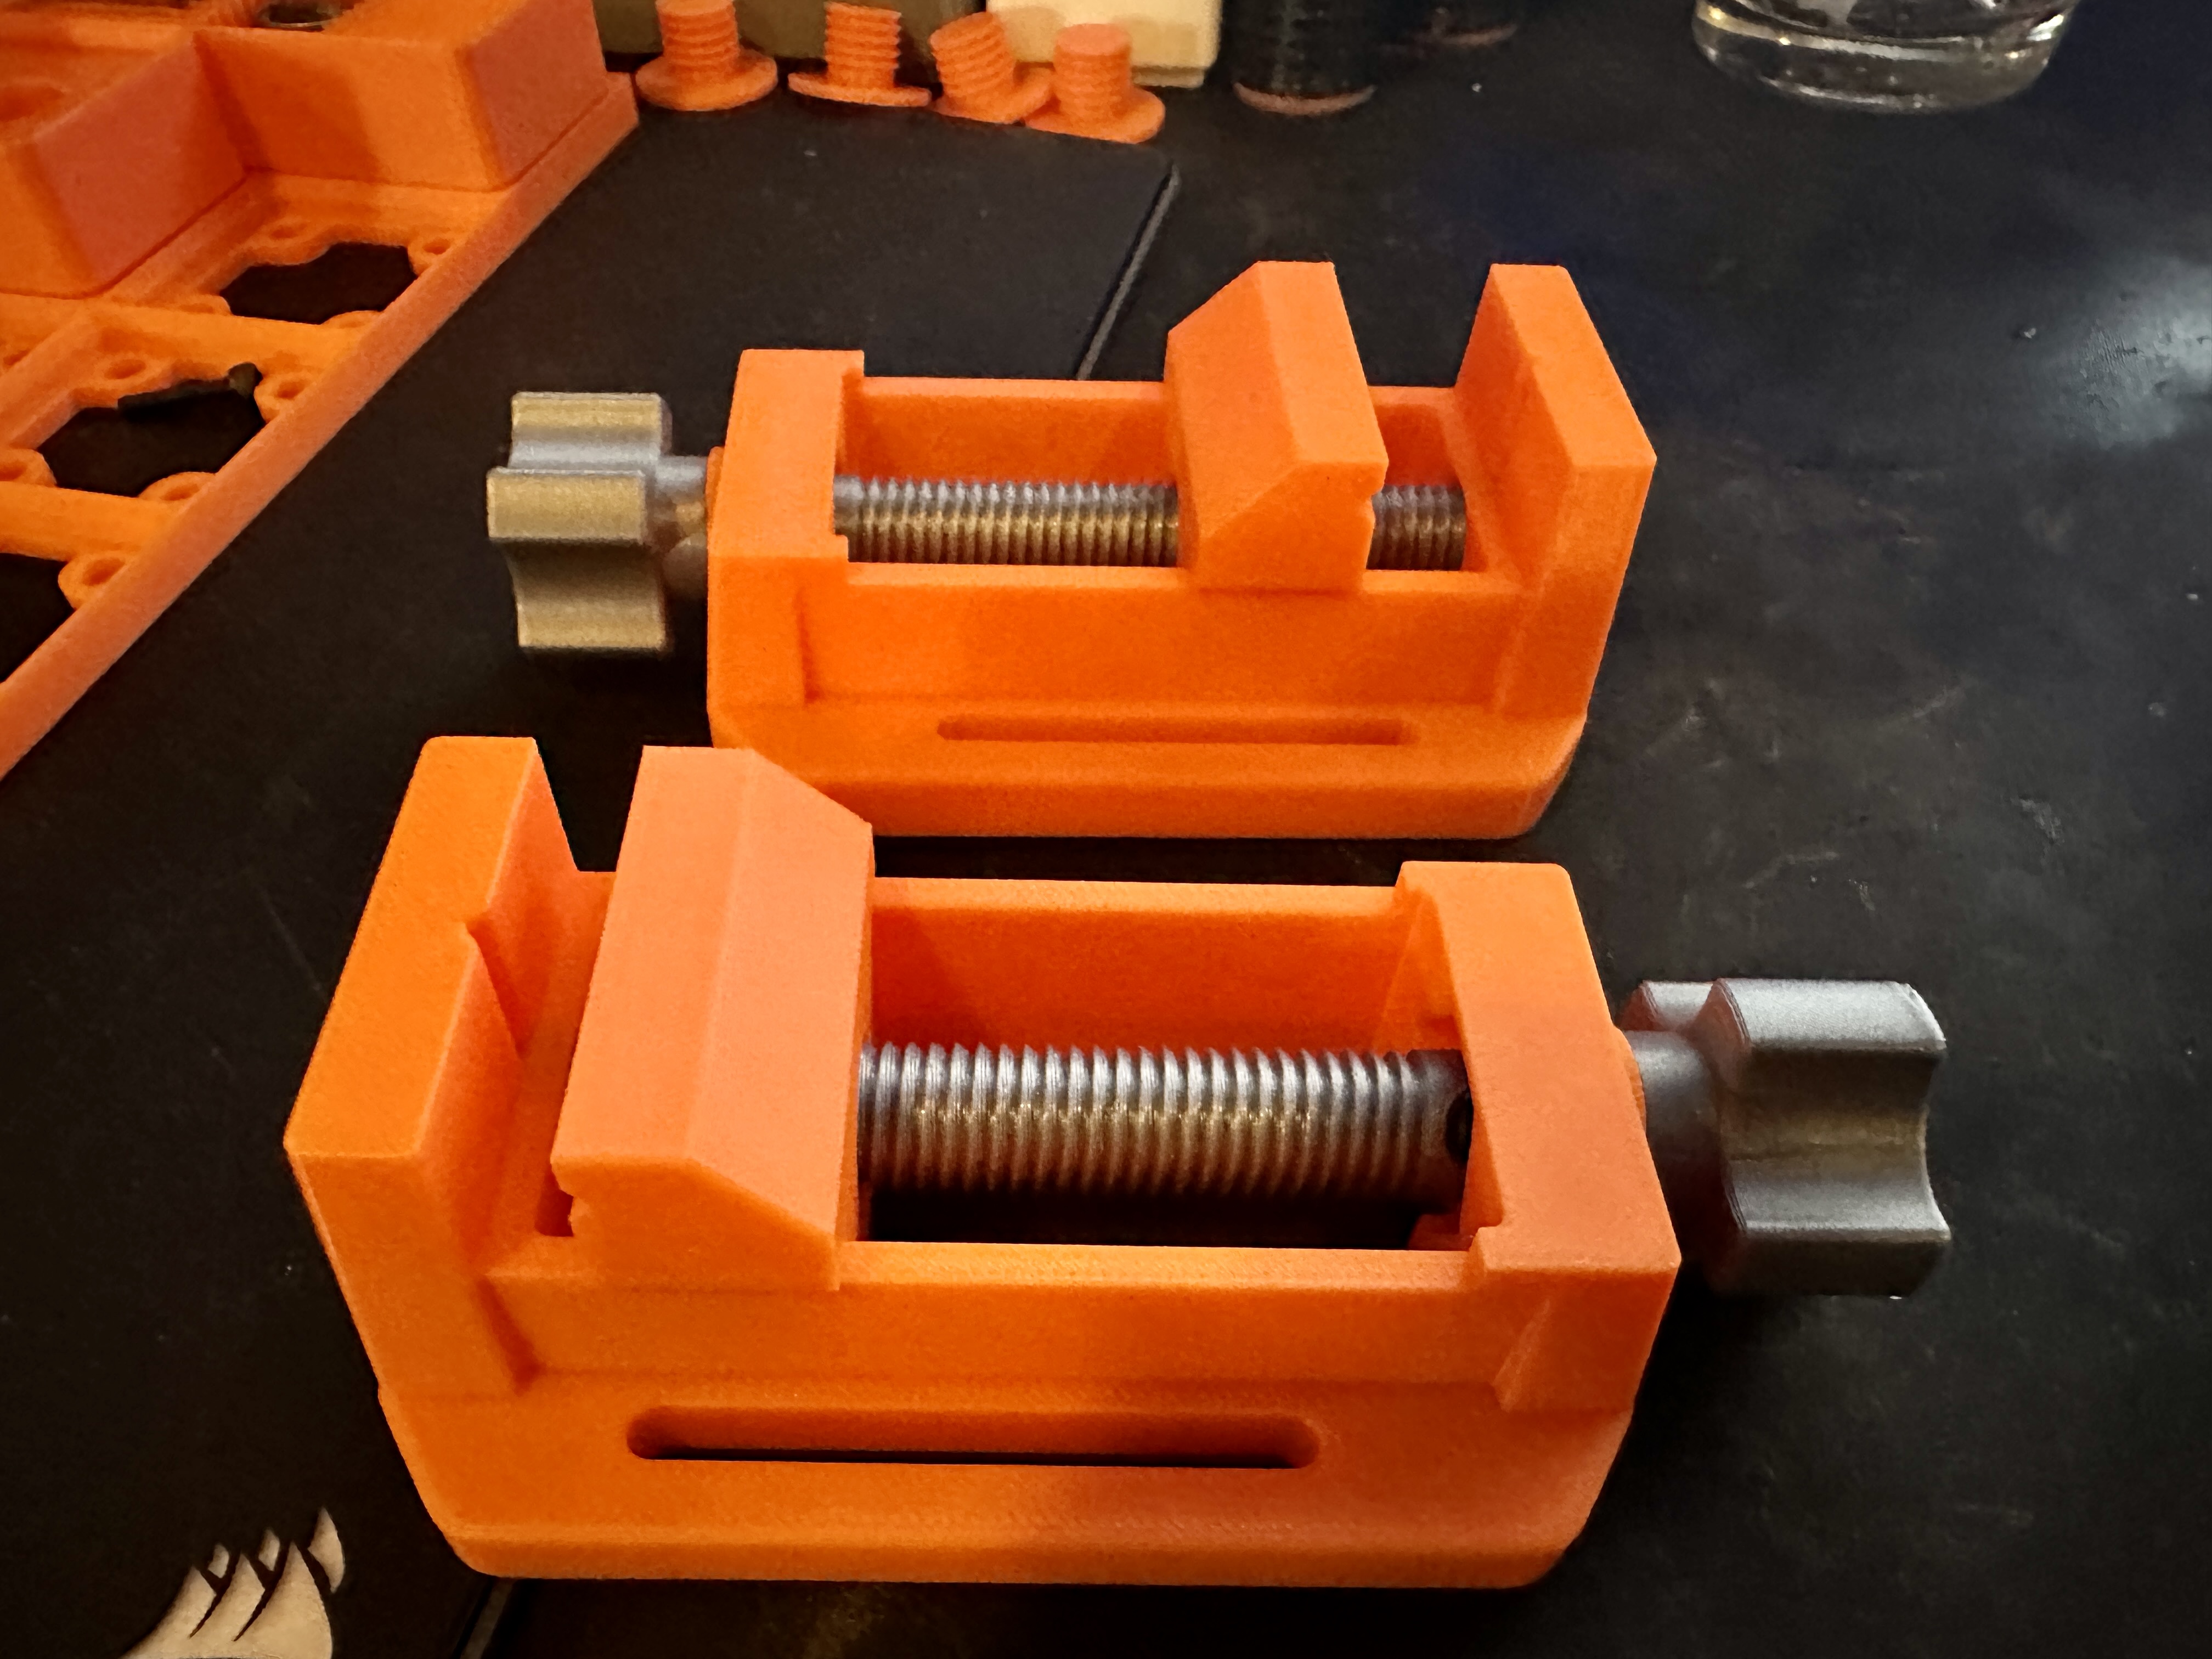
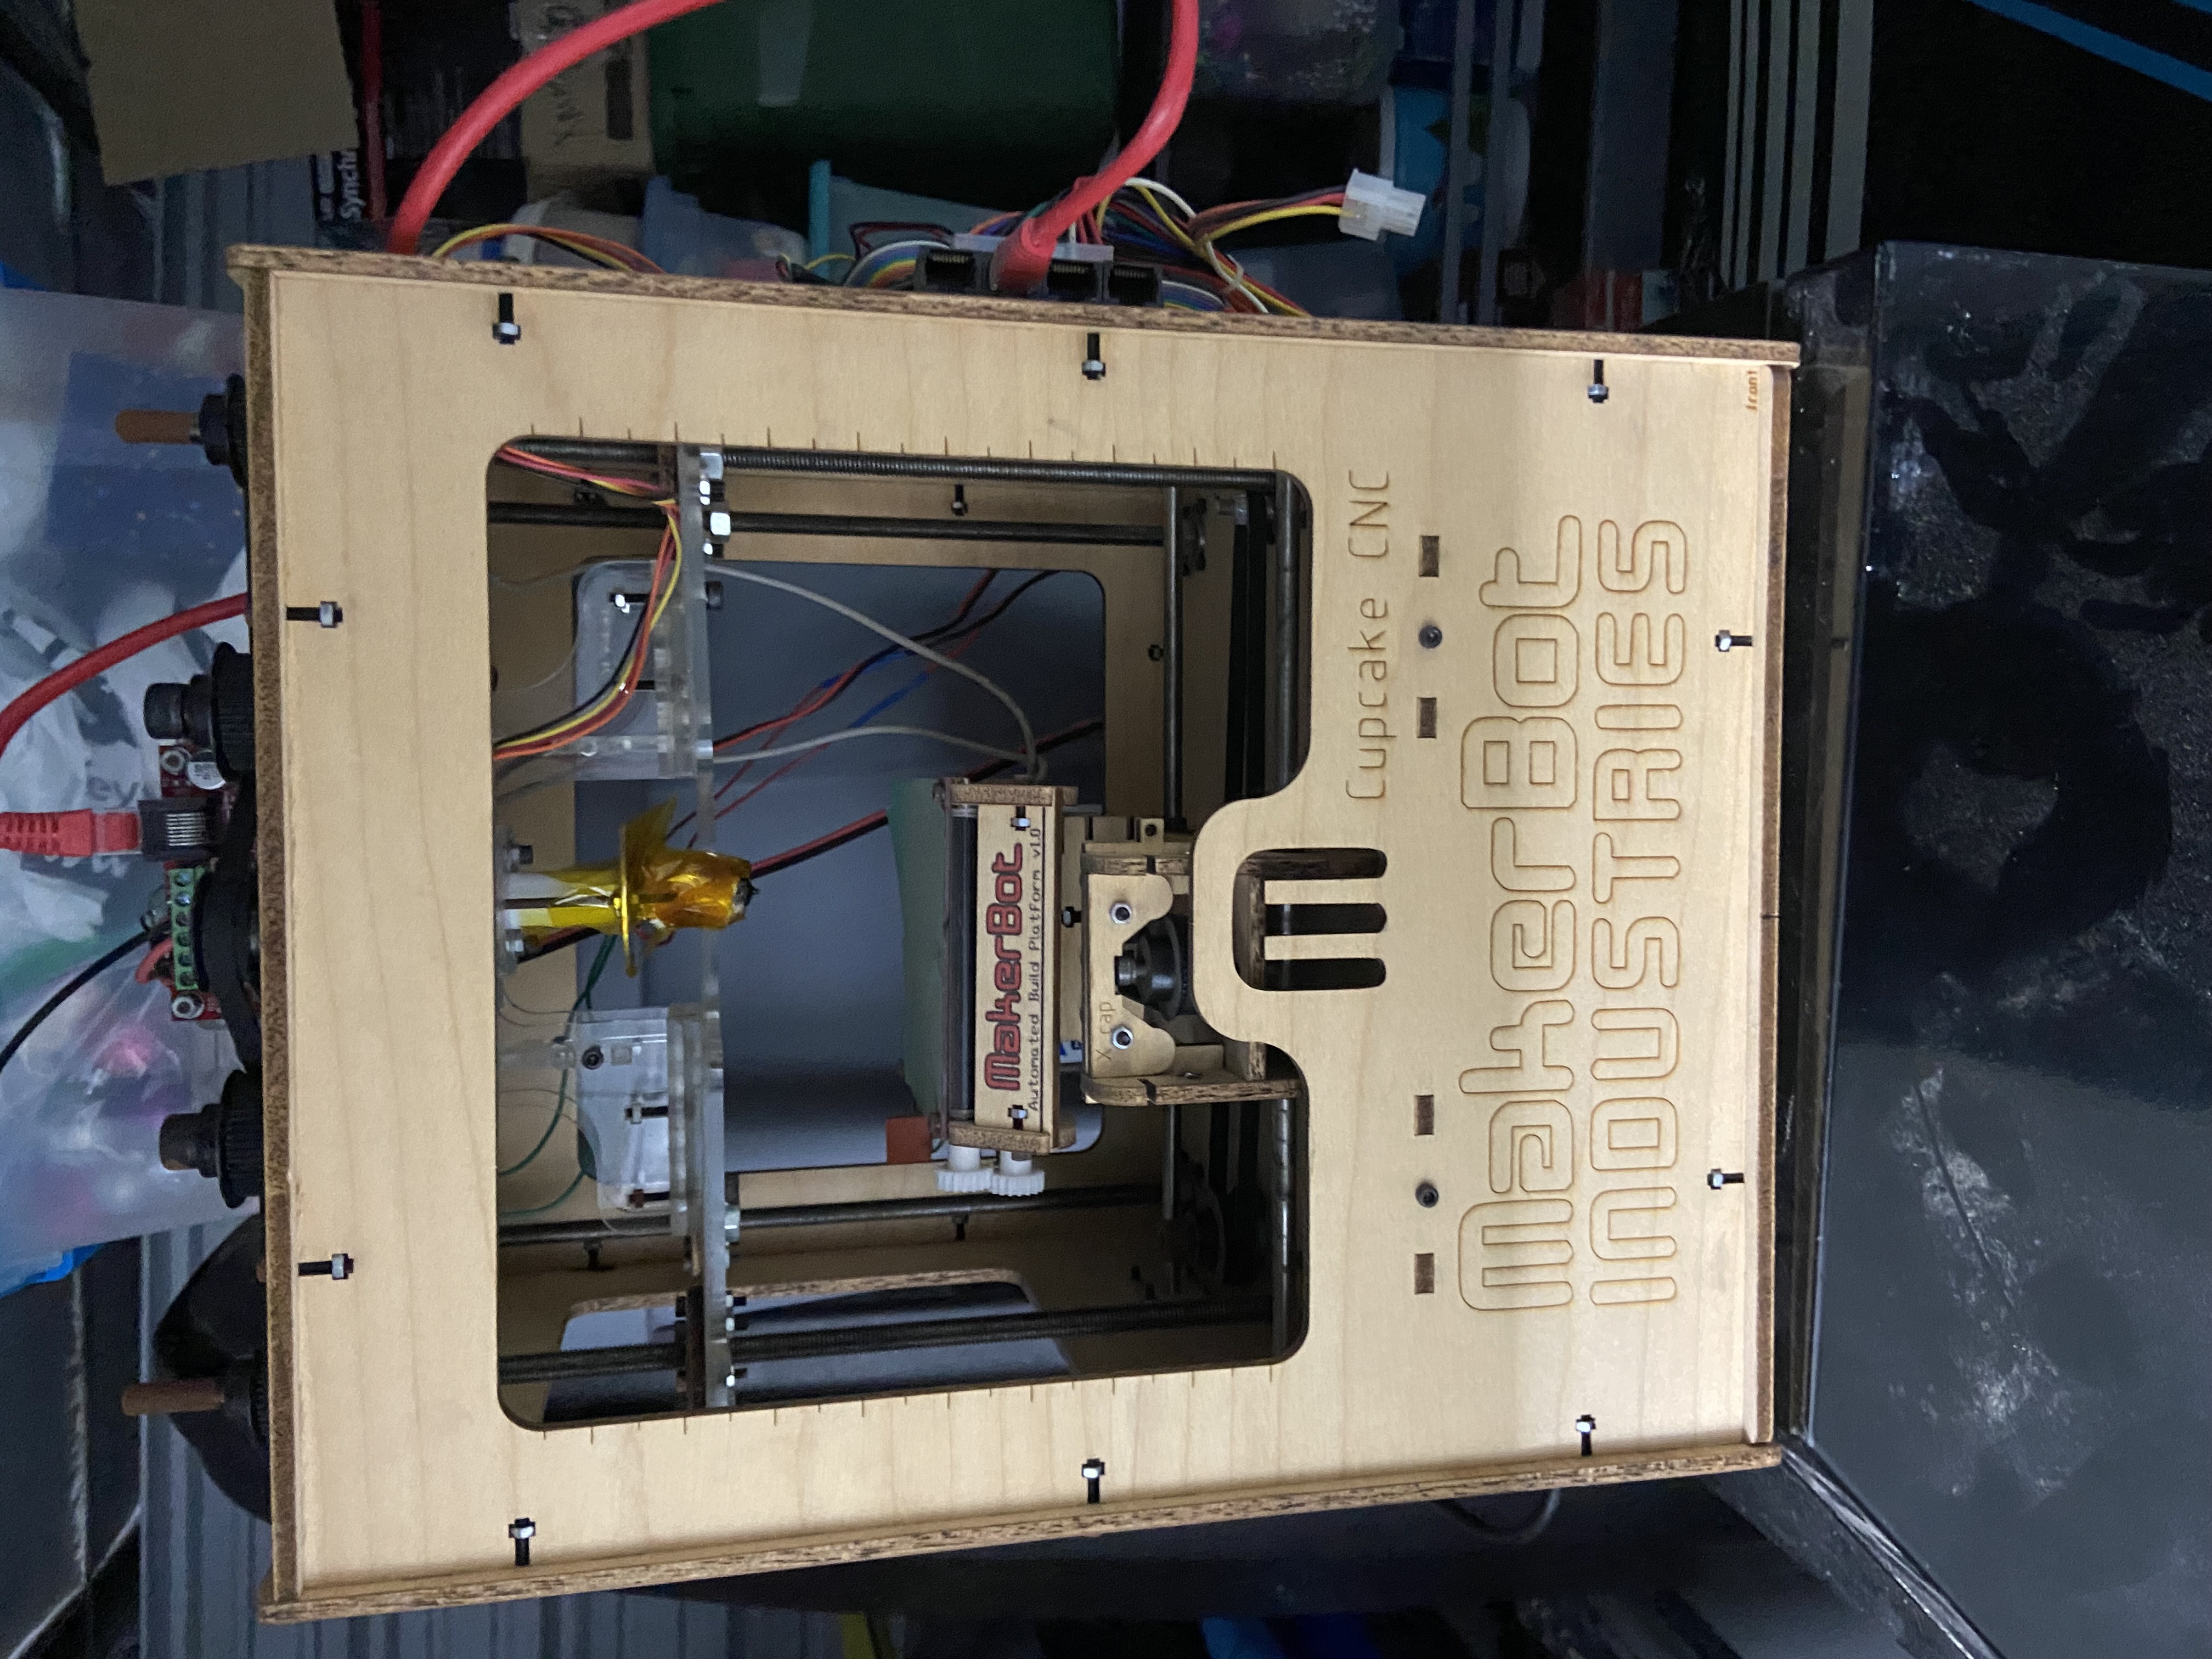
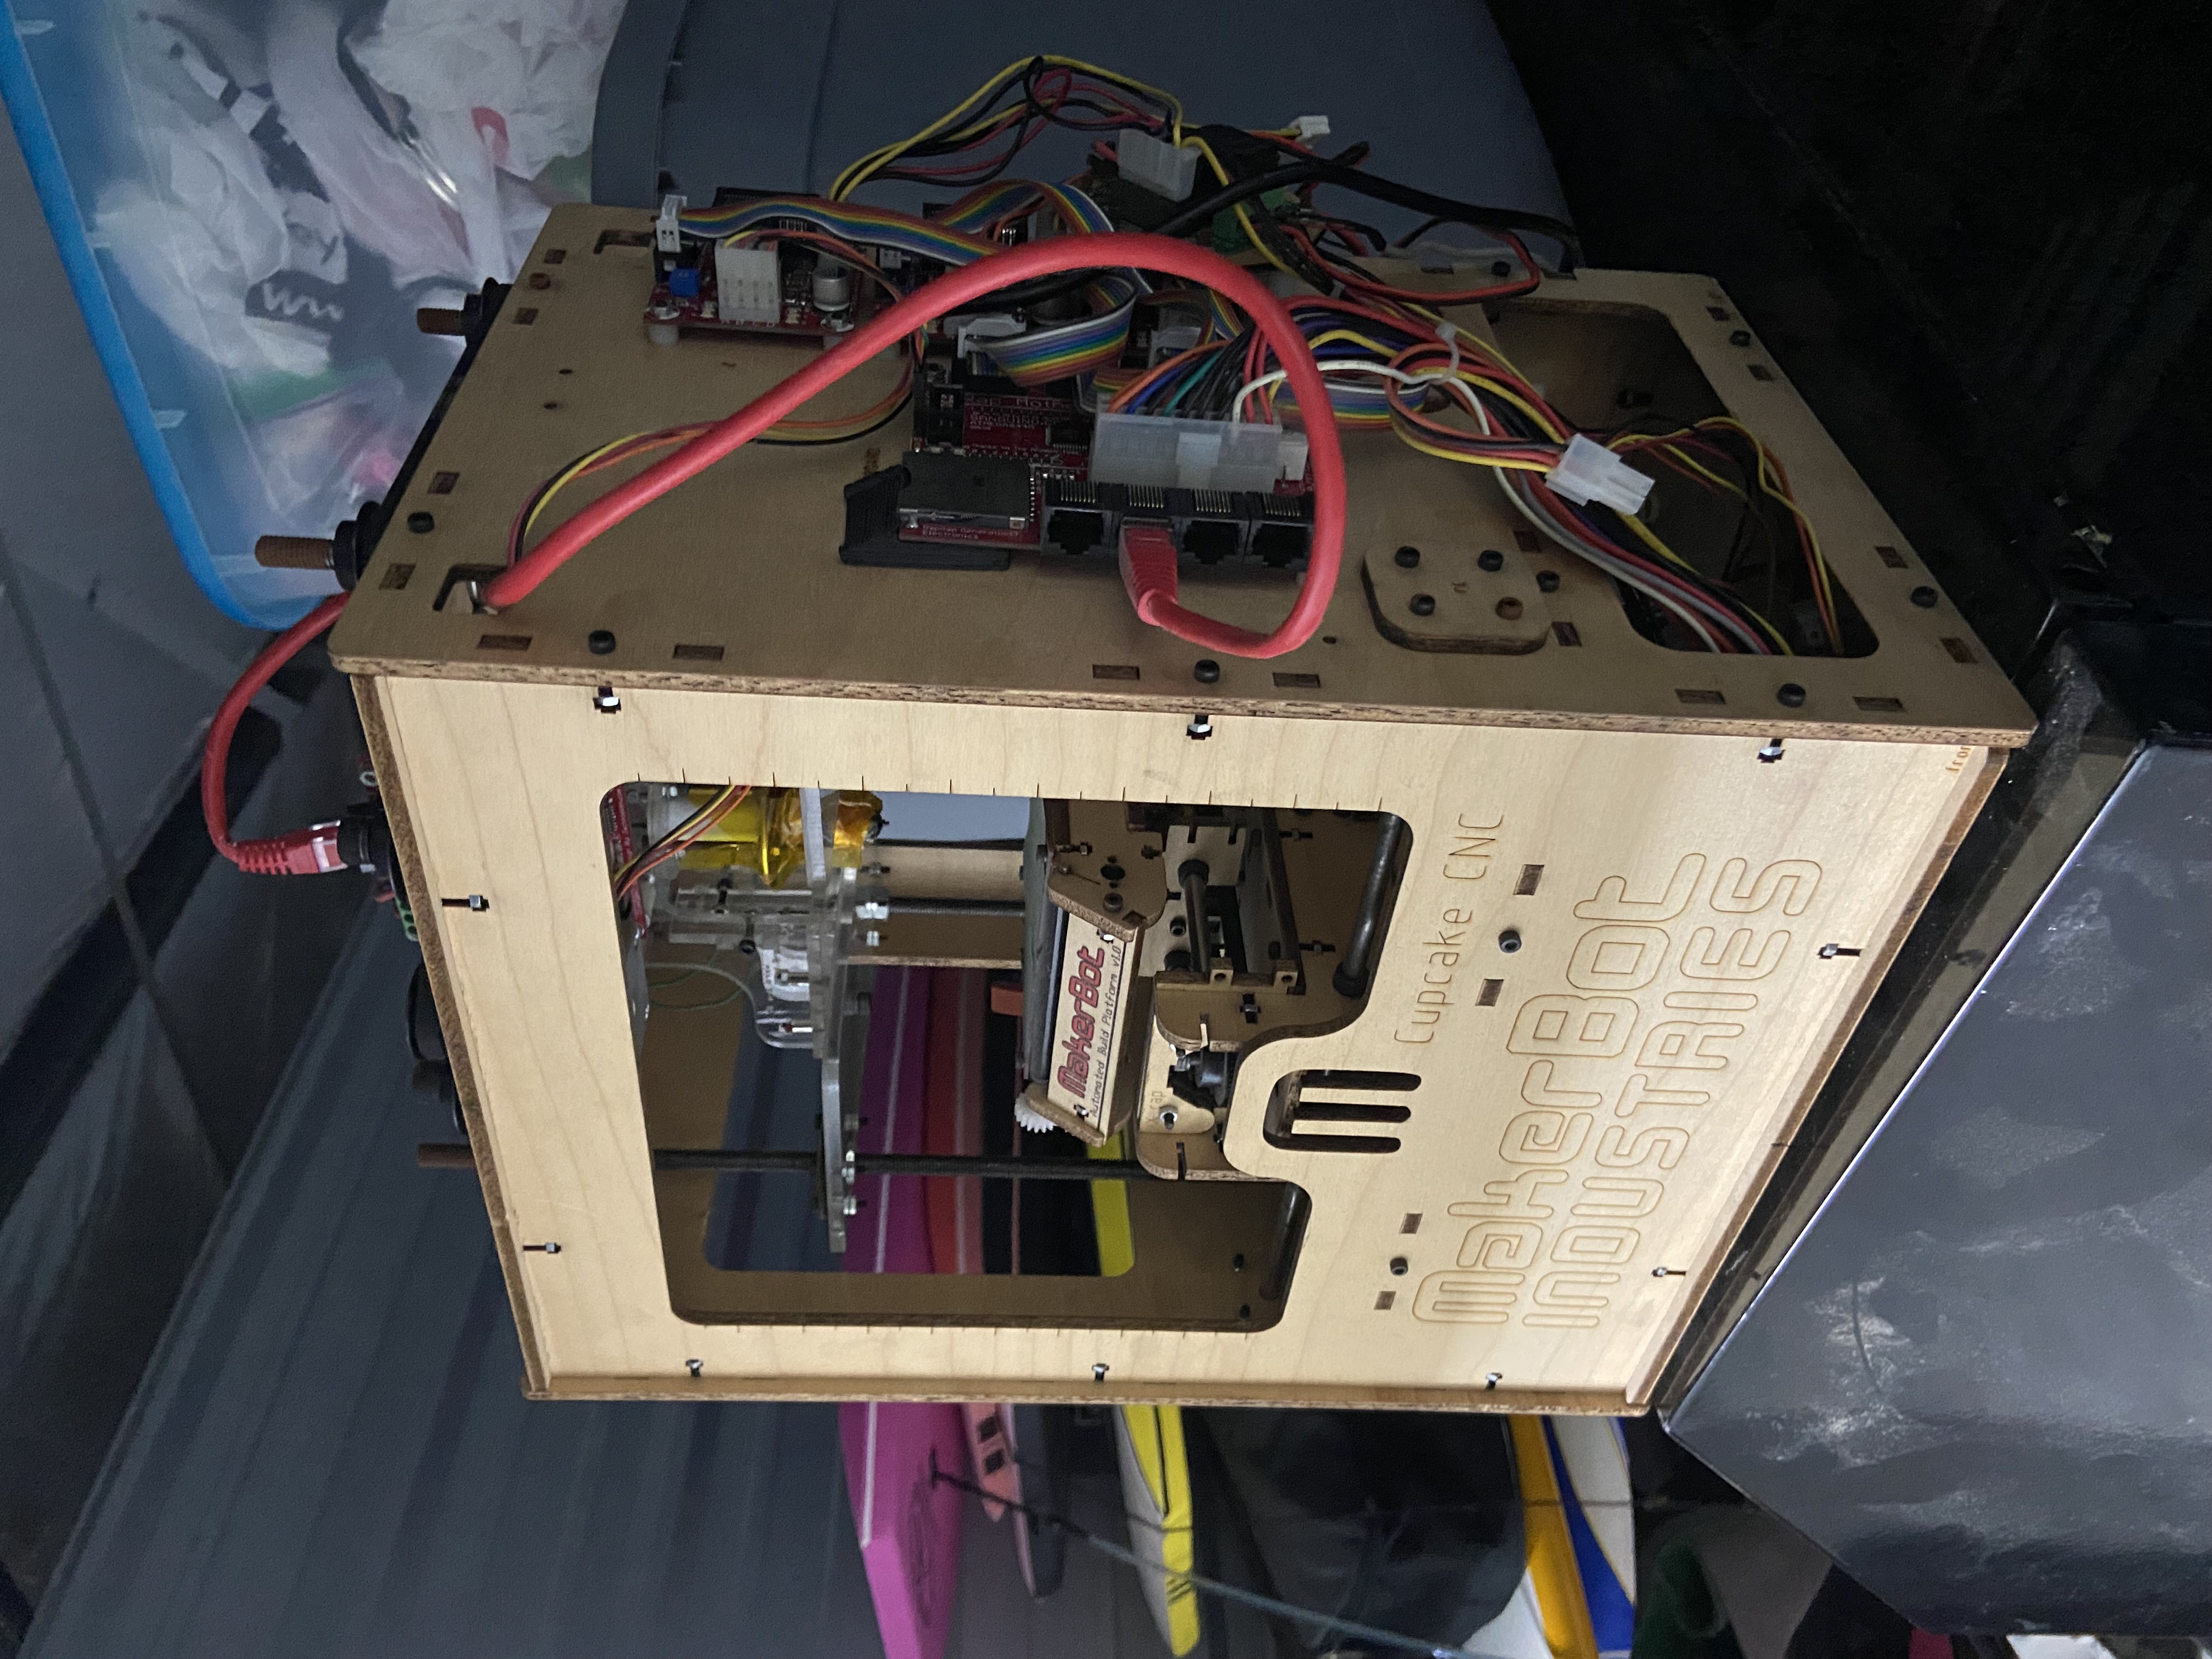
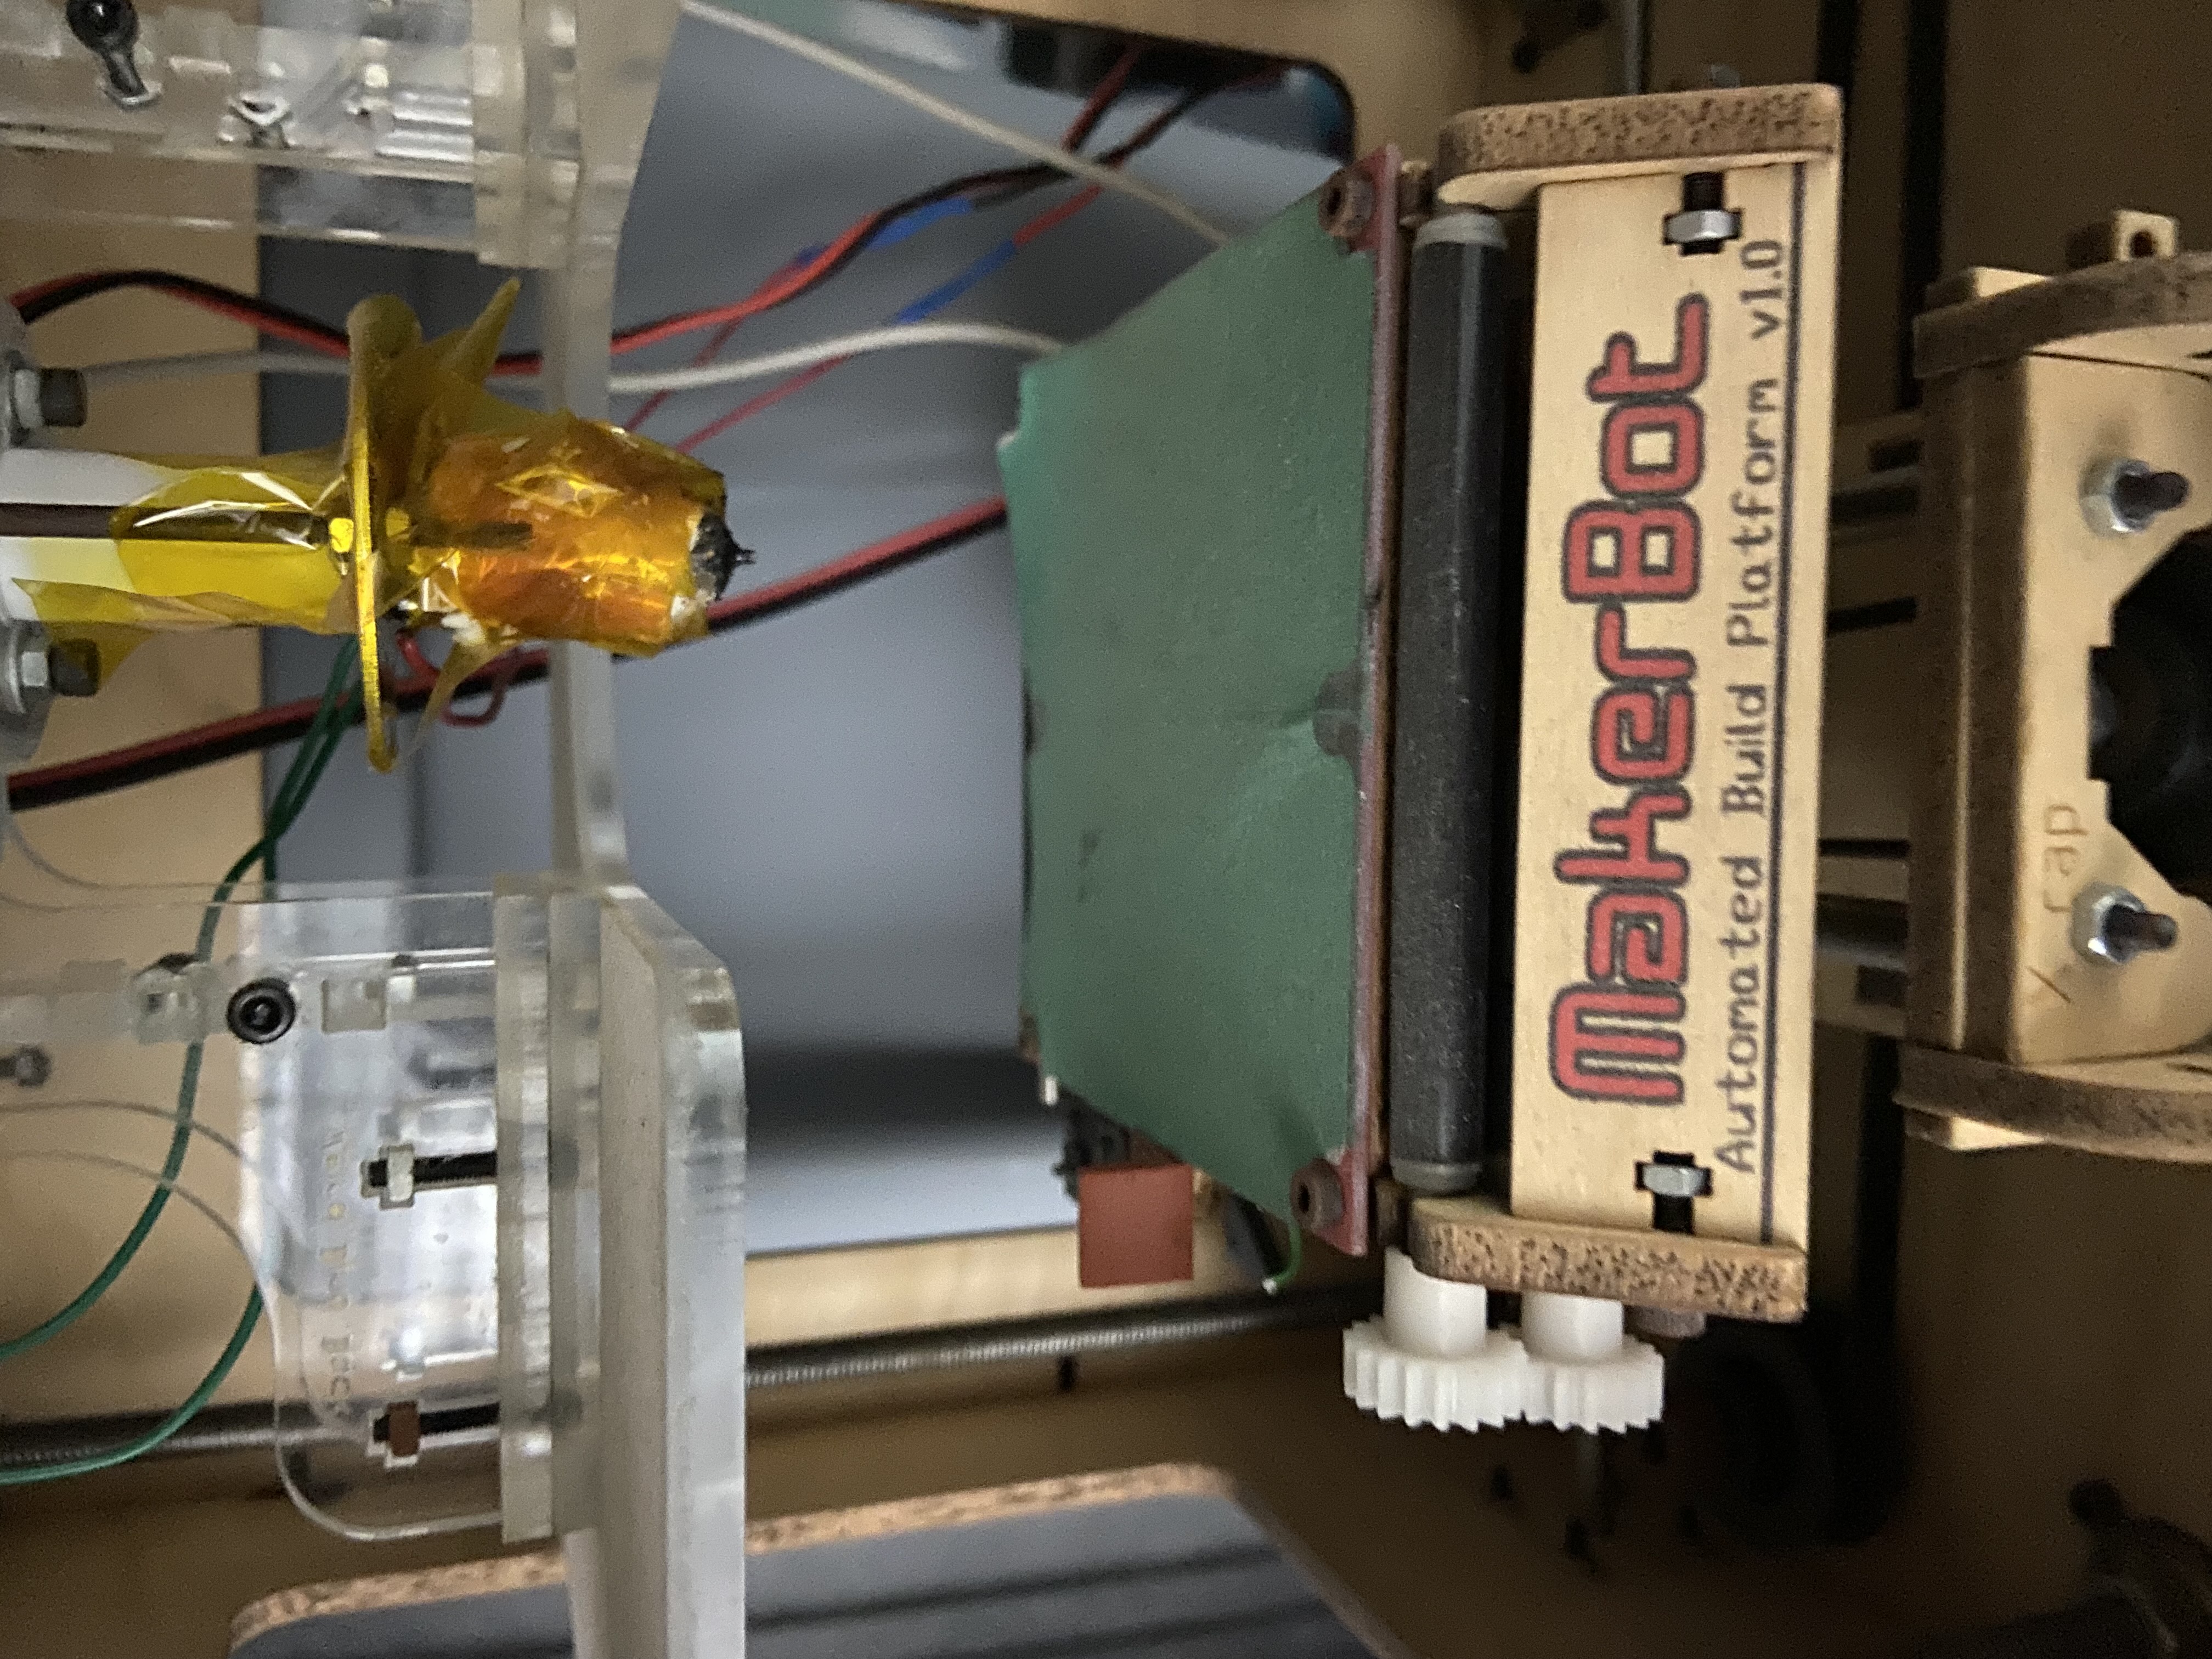
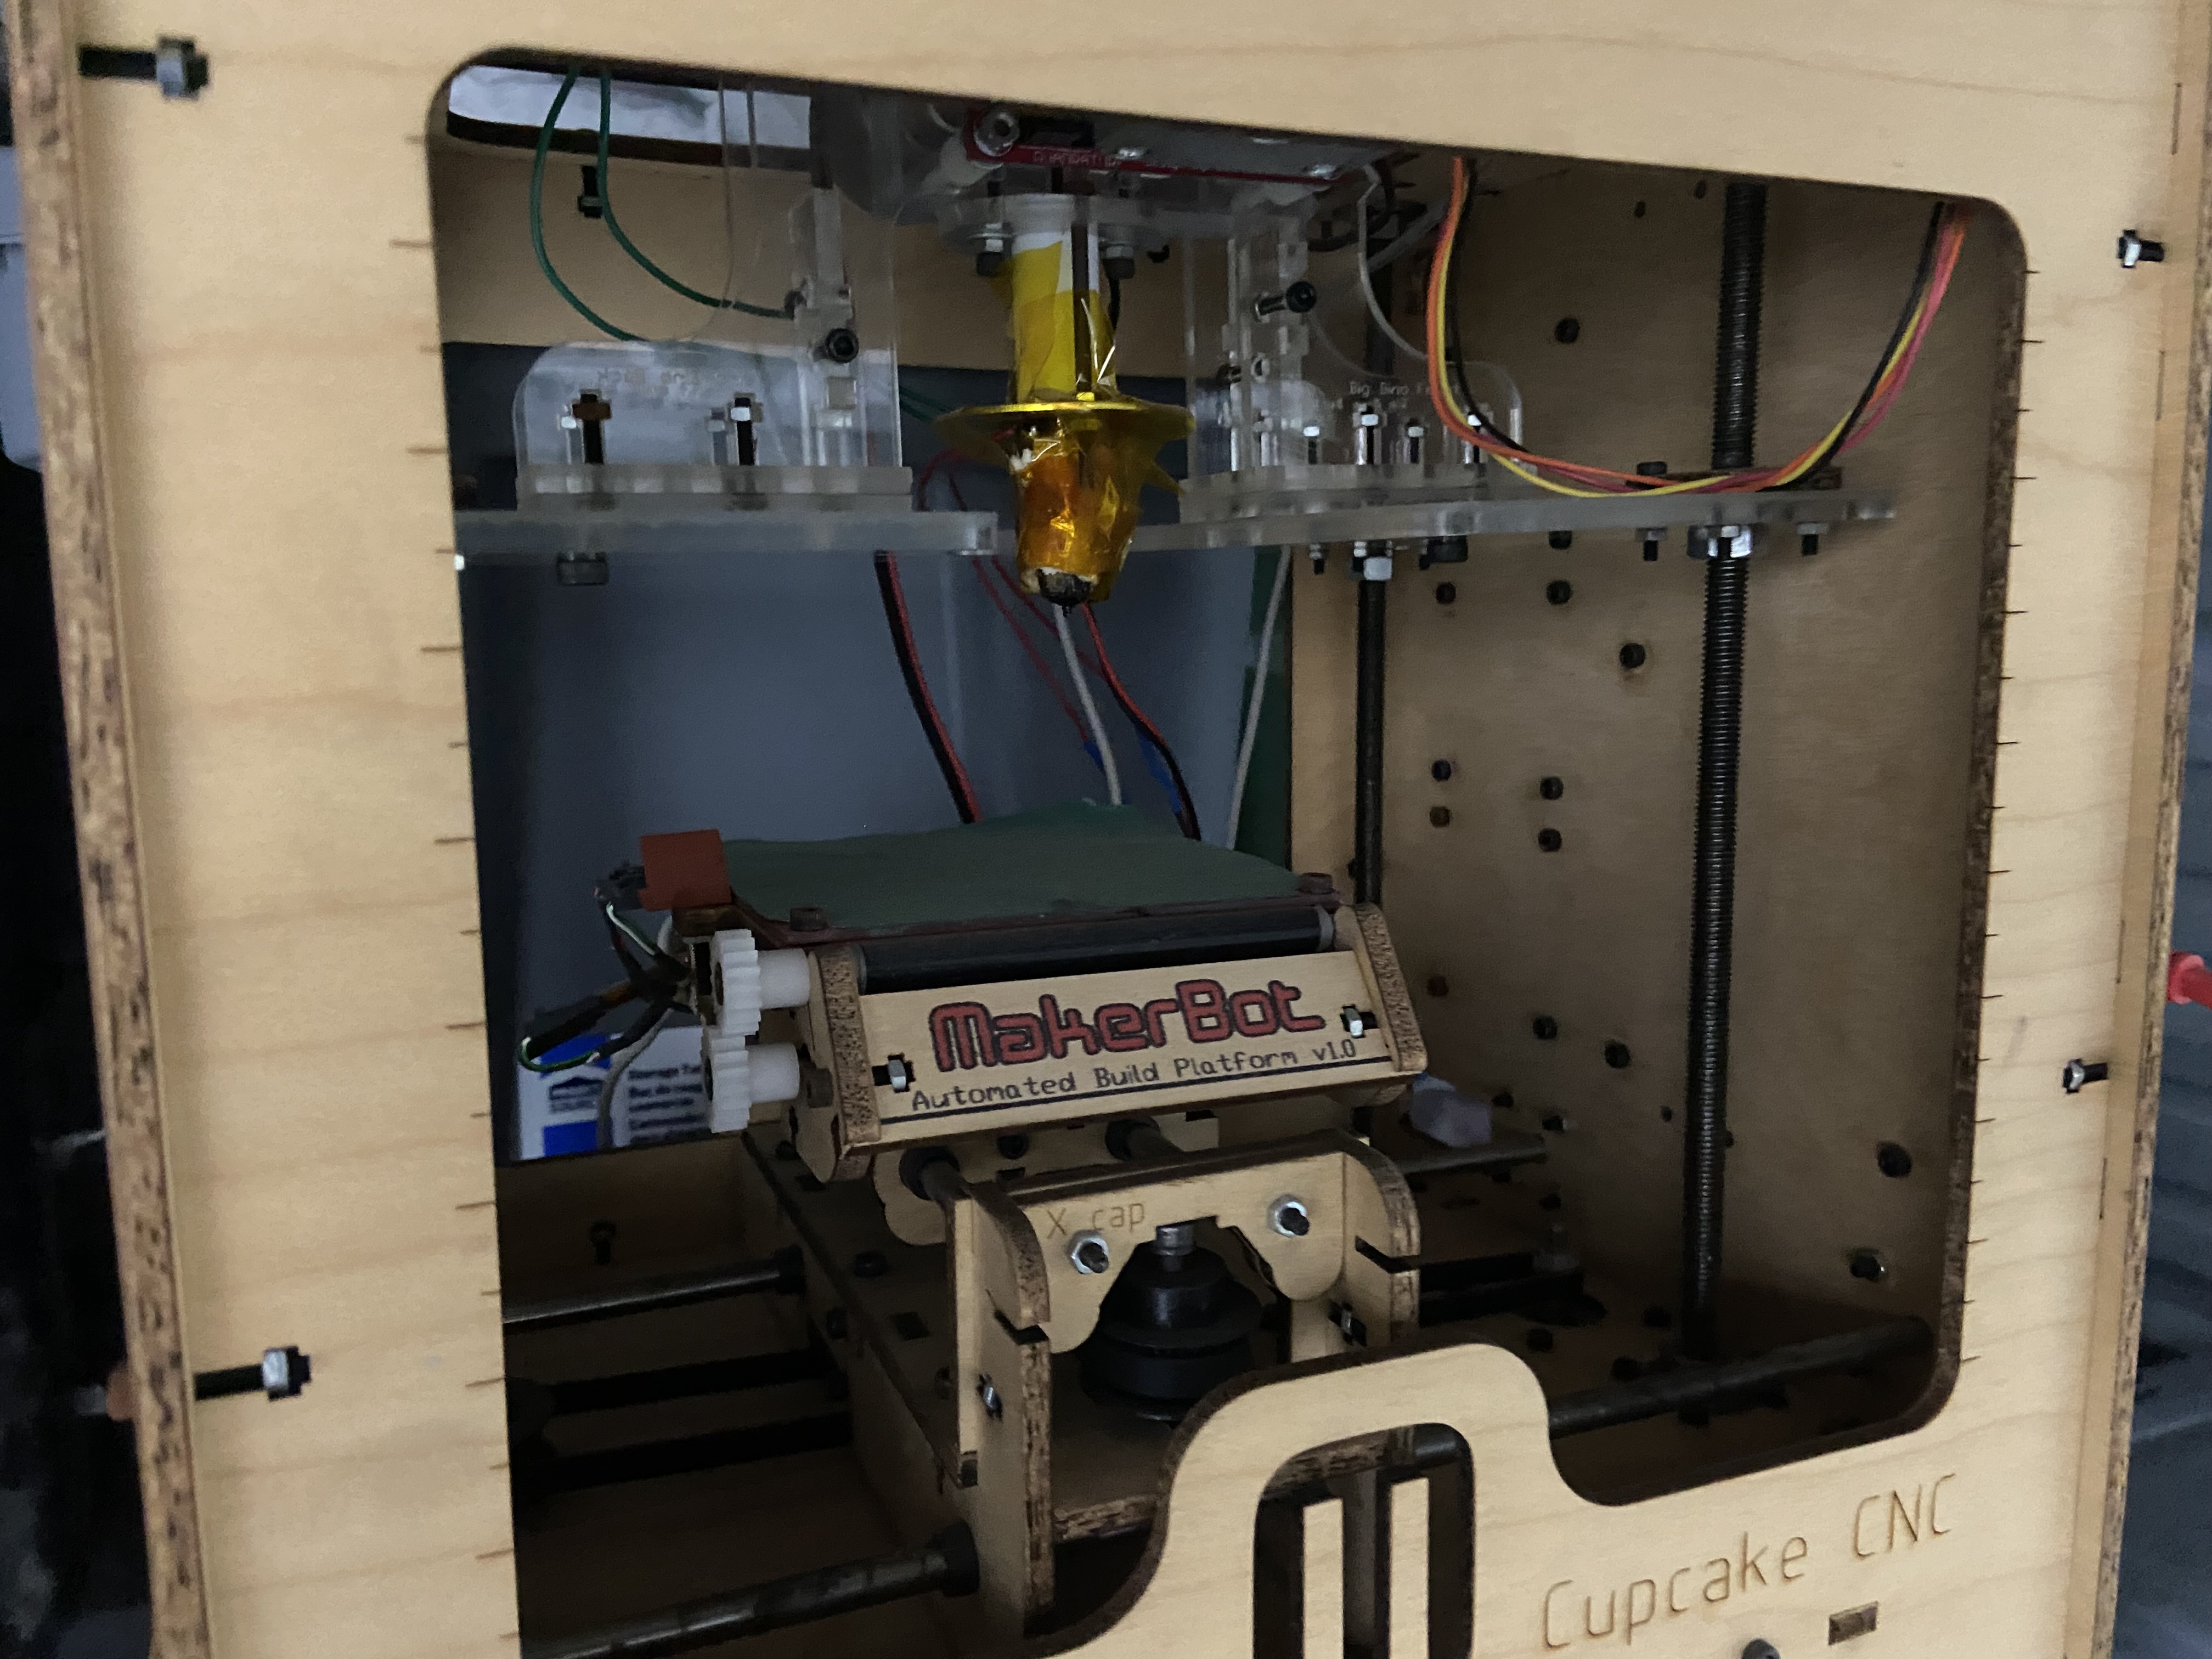
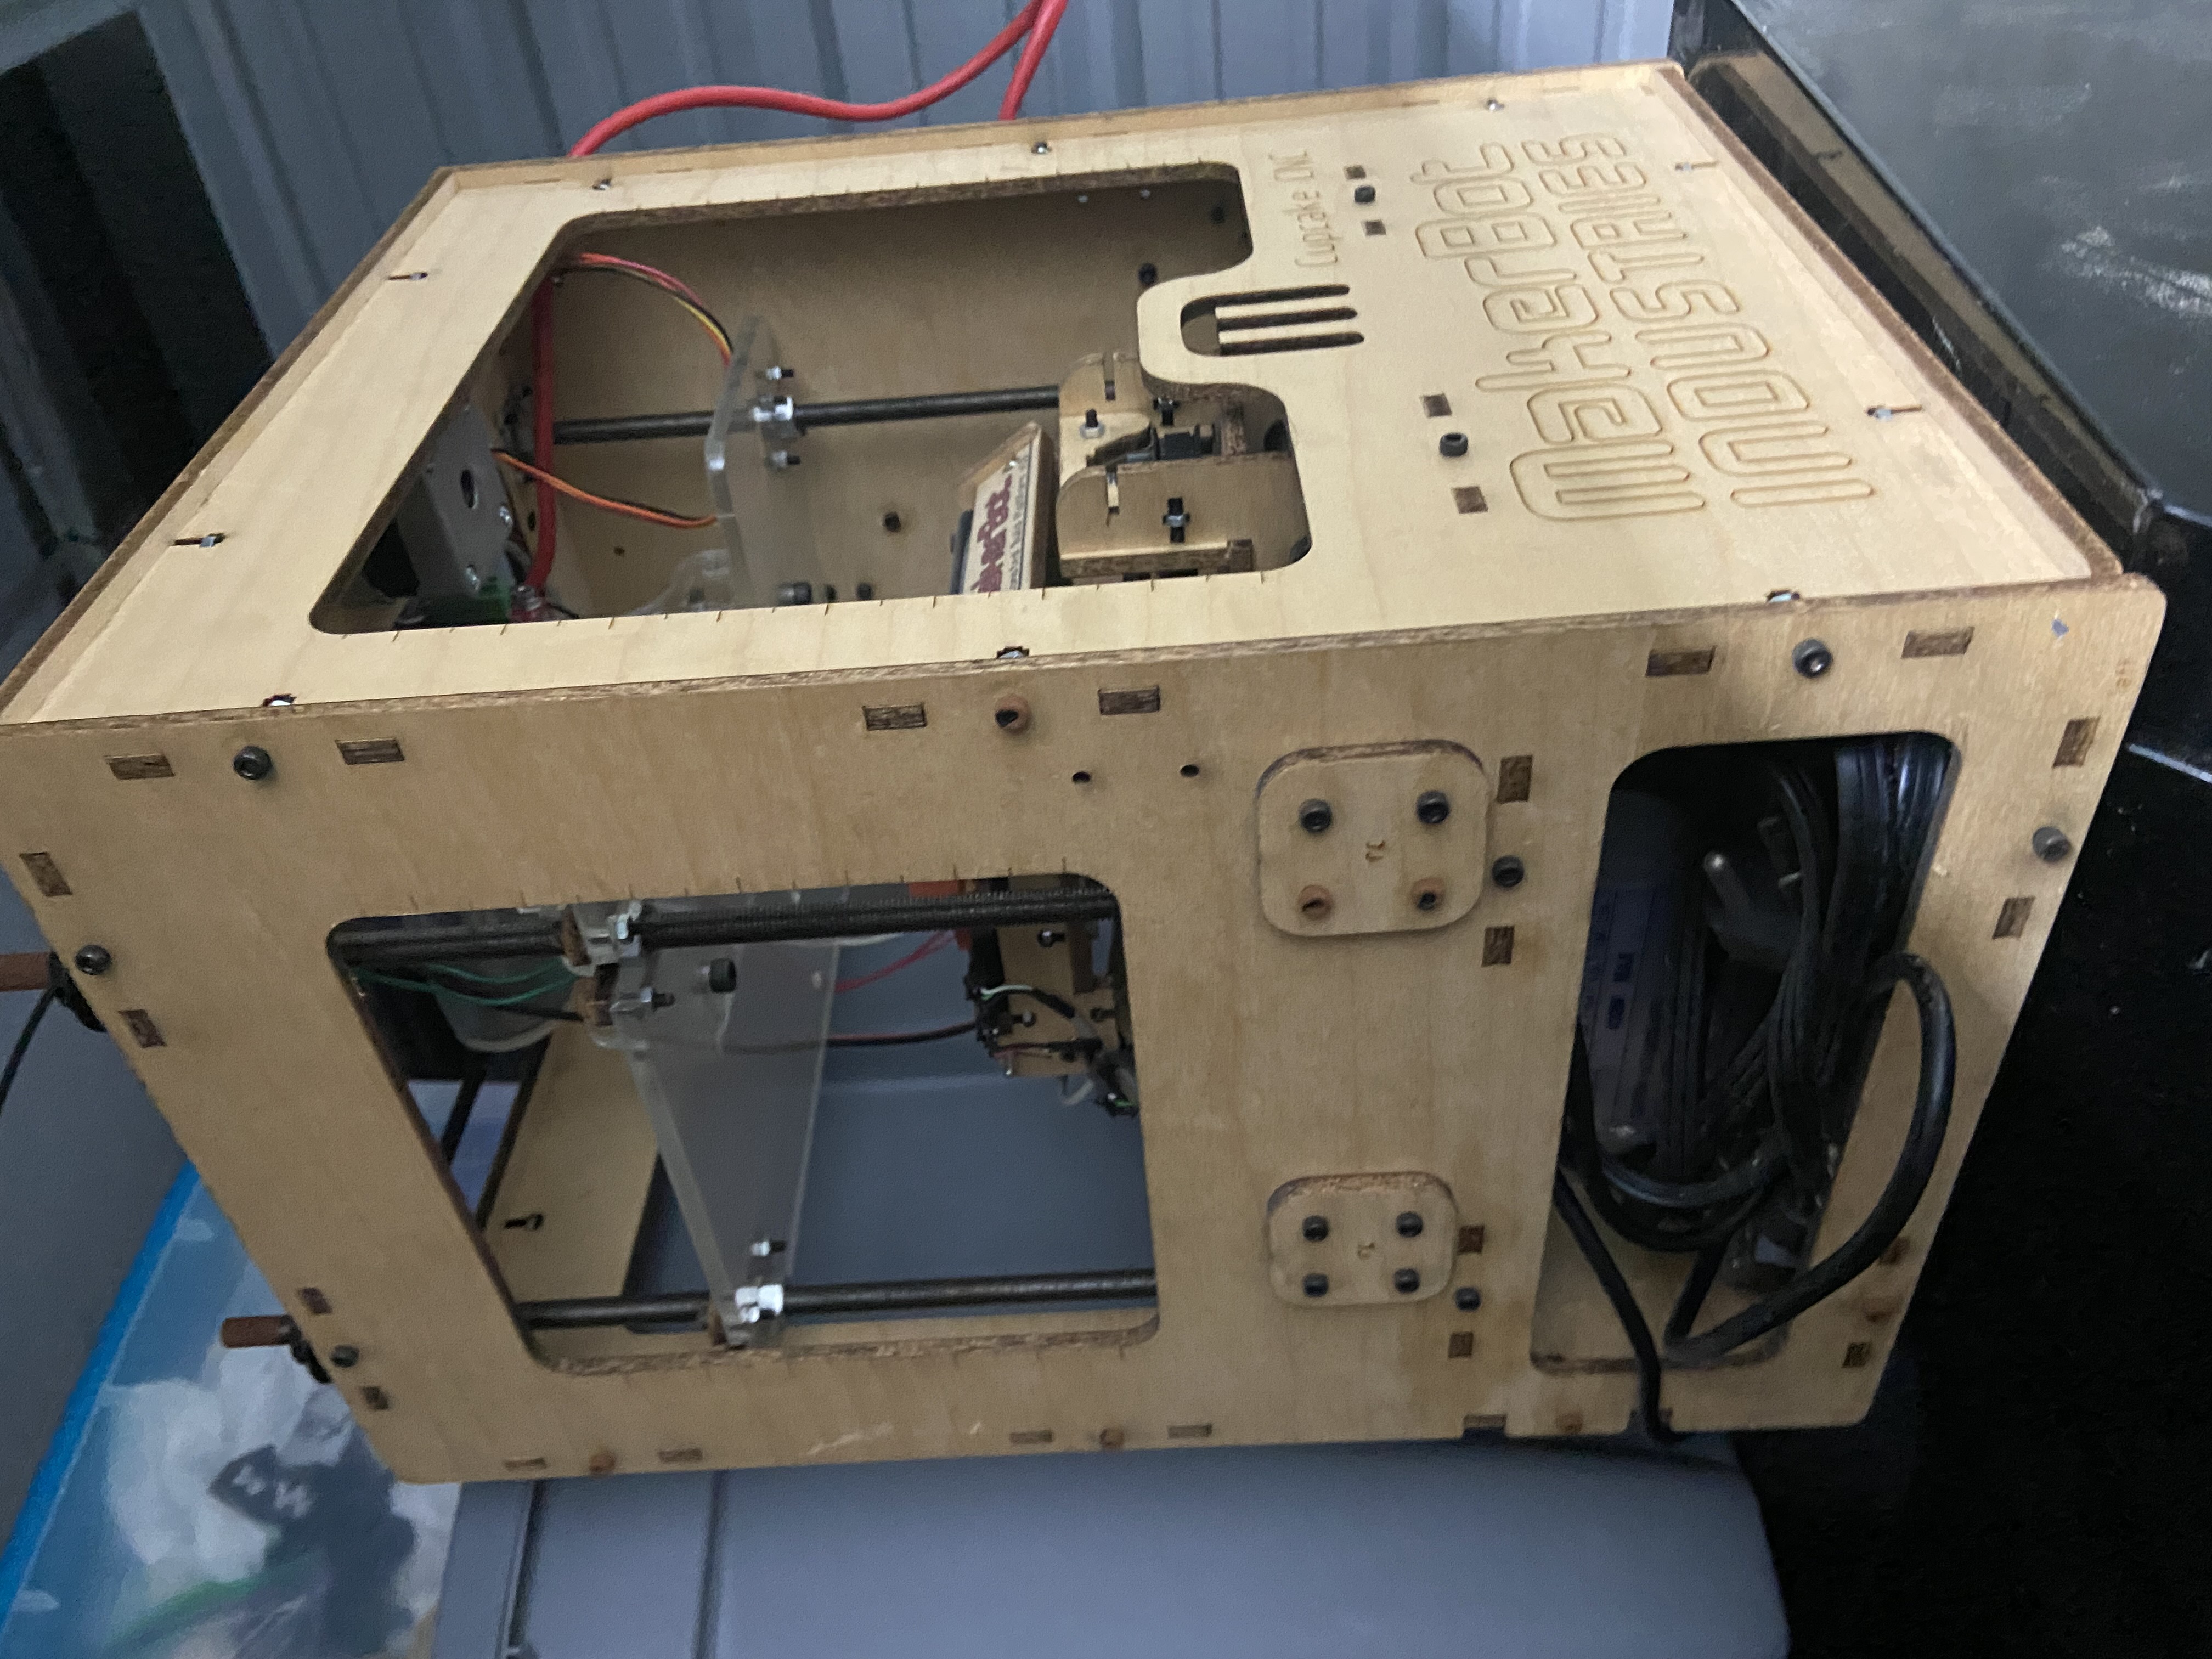
For reference that mendel was put together in 2011 and the printable parts were printed using a Makerbot Cupcake CNC from 2009.
And now for some gratuitous photos of that Cupcake CNC
Licensing is hard...
Controlling Humidity in your AMS
